
Equipment
Computer with internet connection
Adobe Bridge and Photoshop
Overview
Using the photos taken during class you will create three contact sheets to display them. You will analyze them and answer some questions to prove your understanding of aperture, shutter speed, ISO, and white balance.
Instructions
1. CREATE THREE CONTACT SHEETS:
You may only use the images taken during class. Use the three set of pictures taken and follow these steps to create three different contact sheets starting in Bridge. Once in photoshop, add a title and labels to match the layout of the examples below.
STEPS: In Bridge, select the images for your contact sheet, then go to Tools > Photoshop > Contact Sheet II — Label your images with corresponding settings.
Click each link below and match the layout with your contact sheet:
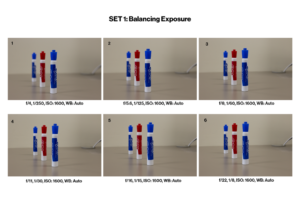
DURING CLASS: Take 5 images in Manual Mode using the following camera settings:
|
ISO: |
Aperture |
Shutter |
WB |
|
|
1. |
1600 |
f/4 |
1/250 |
Auto |
|
2. |
1600 |
f/5.6 |
1/125 |
Auto |
|
3. |
1600 |
f/8 |
1/60 |
Auto |
|
4. |
1600 |
f/11 |
1/30 |
Auto |
|
5. |
1600 |
f/16 |
1/15 |
Auto |
|
6. |
1600 |
f/22 |
1/8 |
Auto |
SET 2: Changing Aperture and Shutter Speed
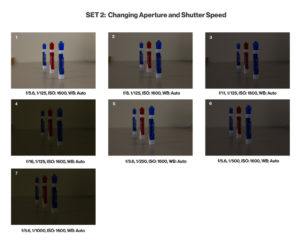
DURING CLASS: Take 7 images in Manual Mode using the following camera settings:
|
ISO: |
Aperture |
Shutter |
WB |
|
|
1. |
1600 |
f/5.6 |
1/125 |
Auto |
|
2. |
1600 |
f/8 |
1/125 |
Auto |
|
3. |
1600 |
f/11 |
1/125 |
Auto |
|
4. |
1600 |
f/16 |
1/125 |
Auto |
|
5. |
1600 |
f/5.6 |
1/250 |
Auto |
|
6. |
1600 |
f/5.6 |
1/500 |
Auto |
|
7. |
1600 |
f/5.6 |
1/1000 |
Auto |
SET 3: Adjusting White Balance
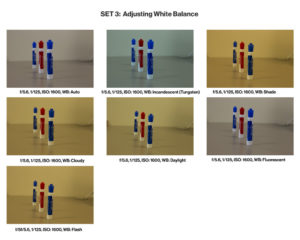
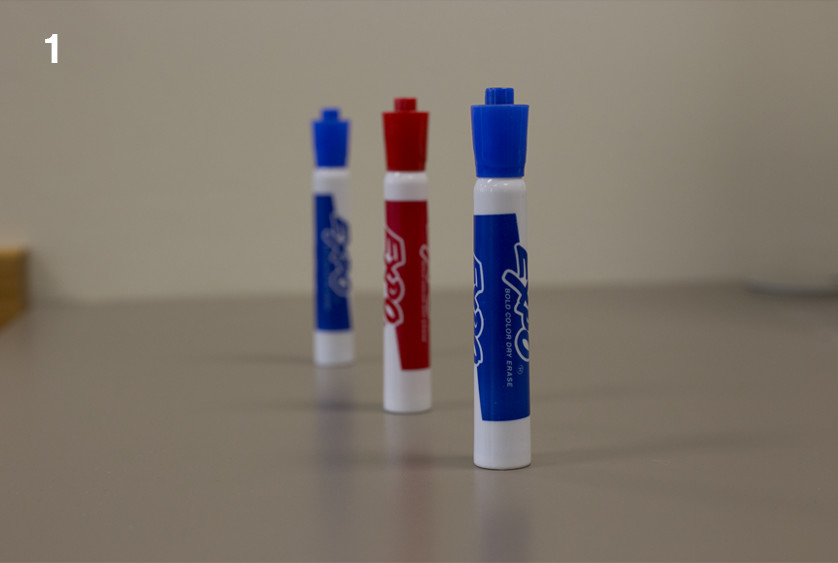
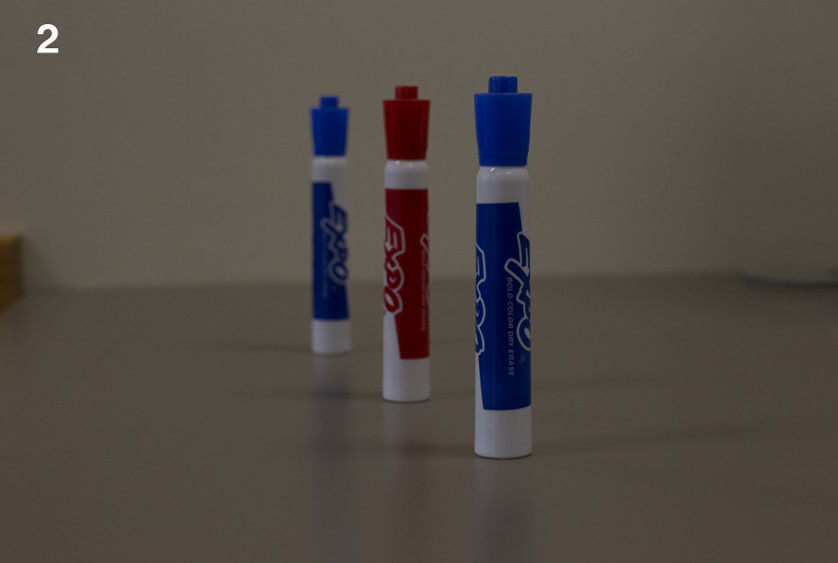
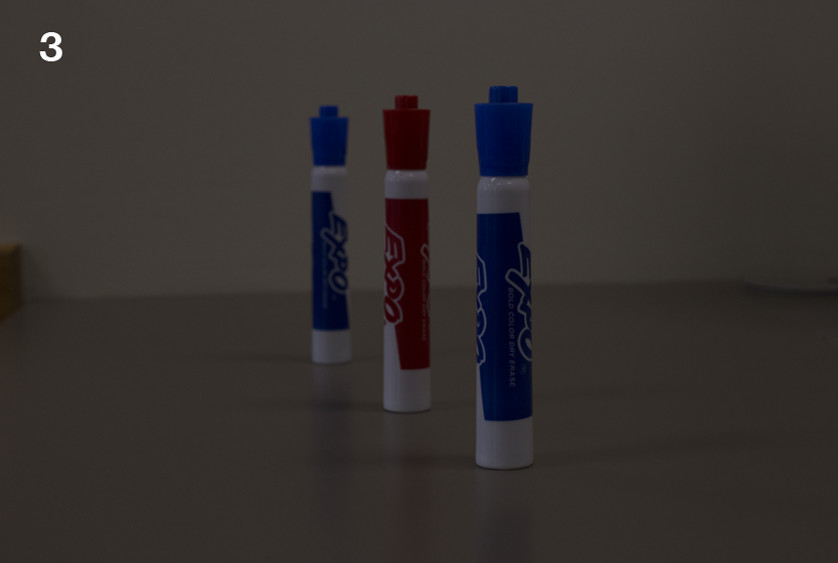
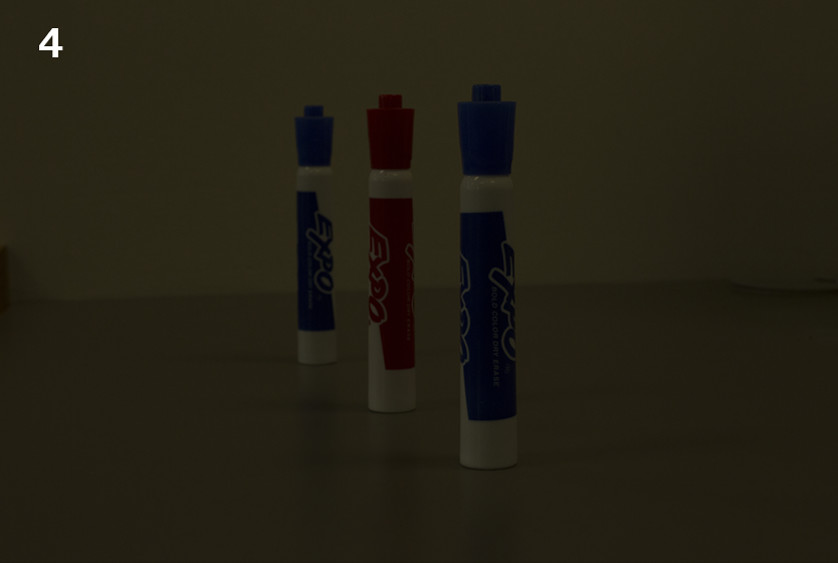
DURING CLASS: Use these same baseline settings for all six images: ISO 1600; F/ 5.6; 1/125
Take 6 images in Manual Mode and change only the WB to show an example of each.
1. Auto
2. Incandescent (Tungsten)
3. Shade
4. Cloudy
5. Daylight
6. Fluorescent
7. Flash
2. TAKE THE QUIZ (Next assignment this week): You will need to refer back to your contact sheets to analyze the pictures and answer the questions.
3. BLOG POST: Resize each contact sheet so the long side is 1024 px and create a blog post to display your three contact sheets. Write at least one paragraph (50 words each) explaining the difference between each activity and what you learned.
Submission:
-Do not submit until everything is complete. Once you submit, be sure NOT to change anything on your post, until after it is graded. Follow the Submission Instructions
-Submit blog post link to the WEB URL tab on Canvas.
-Before 9am Wednesday, choose your best photo (only one) from this project and add it to the correct Class Facebook album. NOTE: Go to Photos > Albums -- in the left upper column of the FB Group.
Rubric
NOTE: Meeting the minimum requirements is “average” and constitutes an 80% or B- grade, according to the University Grading Guide. To receive a higher grade, students should excel. However, quality and/or difficulty is more important than quantity.
√ SIZING: Photos sized to 1024 pixels on the long side. First part of jpeg filename is student’s name. Example: JakeSpencer-Tetons.jpg. Photos displayed at “Large” size in blog post, per instructions in Week 1 > Photo Blog Instructions. Photos are clickable.
√ PROCESS: Detailed paragraph ((50 words) about the process
√ INSTRUCTIONS: 3 Contact sheets matching the examples displayed on the blog post.
√ PHOTO QUALITY: Light – Focus – Composition – Creativity
√ QUIZ (5 POINTS): you must have taken the quiz before submitting the blog post in order to receive all the points.
√ SUBMISSION: Link submitted was a true hyperlink and linked directly to the completed blog post.
CAUTION: YOUR ASSIGNMENT IS NOT COMPLETE UNTIL YOU SUBMIT A LINK TO IT HERE. However, you are allowed a one-time extension, if you choose to use your mulligan. Please read about it in the syllabus. We check your blog post for completion right at the deadline, so please do not add things later. Everything needs to be complete when you post the link.