For this activity, you will develop your own WORKFLOW plan and a PHOTOBOOK LAYOUT PREVIEW. It is vital to develop an efficient workflow so you can organize and find your images. IMPORTANT: You will be required to save 3 versions of each photo you submit for class assignments:
1. The ORIGINAL RAW image from your camera.
2. The FULL-SIZE EDITED version (PSD file or edit saved in Lightroom catalog).
3. The WEB-OPTIMIZED jpeg that you renamed with your name and resized to 1080px on the short side. Please include in your workflow write-up on how you will keep and organize all three versions of your images.
Instruction
PART 1: WORKFLOW
A. Research: Google “digital photography workflow” or “photography workflow” and find out which workflow fits you best.
B. Log in to Balance the Light: Go to Modules > Resources > REQUIRED EBOOK: Balance the Light – by Caryn Esplin and follow instructions to activate your free subscription in order to access the following tutorials:
Example Workflow for BRIDGE / ACR (Adobe Camera Raw): Balance the Light Workflow Tips, https://300.commbyui.org/workflow/
Example Workflow for LIGHTROOM: Review the steps written for two videos: Importing & Sorting and Exporting.
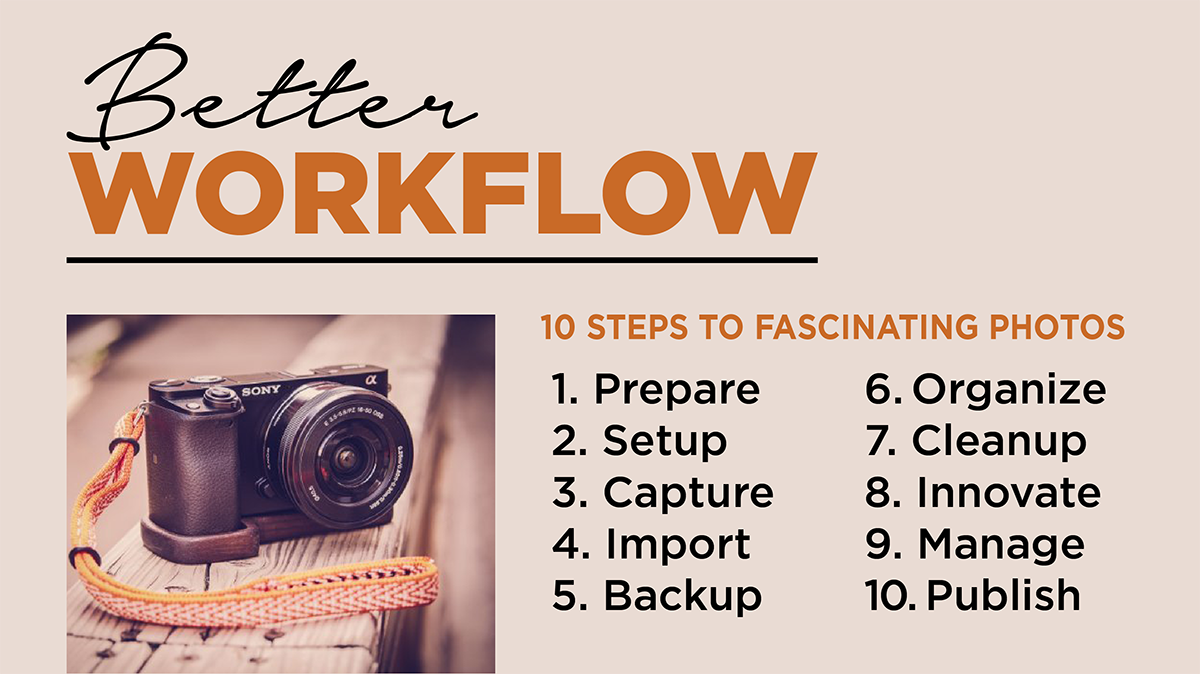
C. Workflow Plan: Create a Word document and write up your photography workflow that includes these steps:
1. PREPARE: Test and pack equipment; Charge batteries; Format sd cards, etc.
2. SETUP: Visualize unique angles; Setup camera settings, tripod, etc.
3. CAPTURE: Capture images; Try varied compositions; bracketing, etc.
4. IMPORT: Import images from sd card to computer
5. BACKUP: Immediately make a second backup copy of all images
6. ORGANIZE: Sort and rate images; Select best ones to edit
7. CLEANUP: Remove spots, sensor dust; straighten images
8. INNOVATE: Use software to edit images as desired (exposure; sharpening; creative; composites?)
9. MANAGE: Add watermark; Save 3 files of each image: original, Full-size edited image; Blog-size edited
10. PUBLISH: Post to blog/website & explain process; Promote blog link by posting on social media
D. Save as a PDF: Go to File > Save as…. Then change the File Format to PDF. Name your file: “Firstname-Lastname-Workflow.PDF”
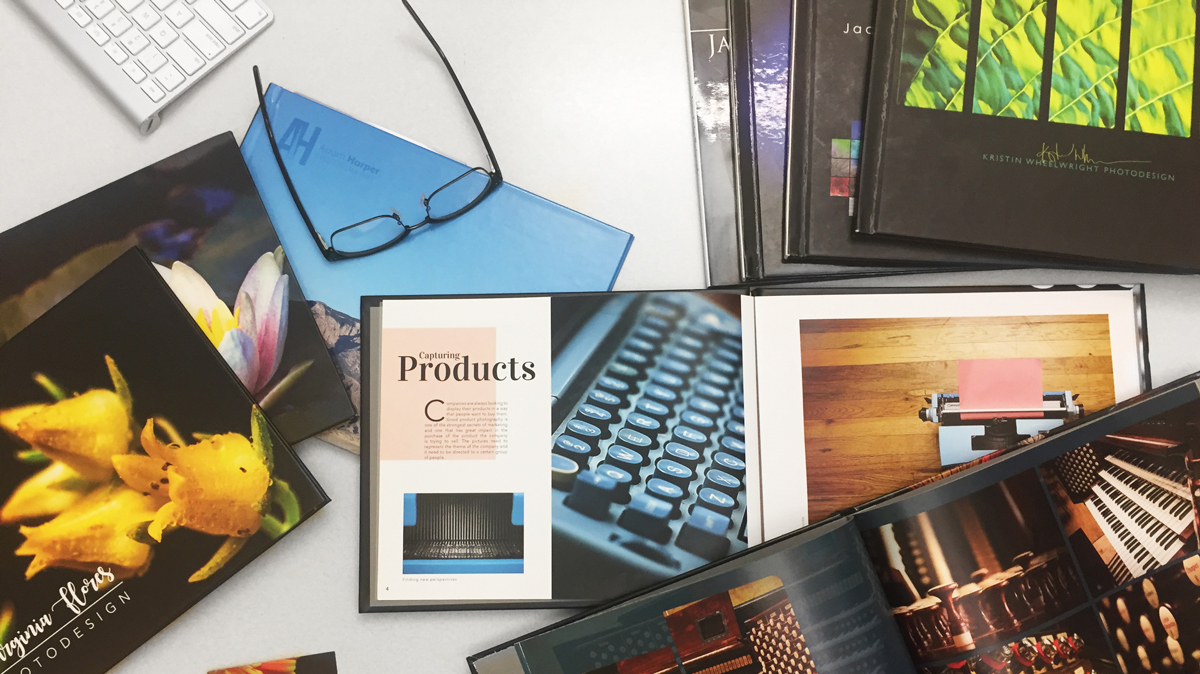
PART 2: PHOTOBOOK LAYOUT PREVIEW
A. Change InDesign Default Unit Settings: Open Adobe InDesign. On a MAC, click “InDesign CC” or “Indesign” (on top left corner) > Preferences > Units & Increments… On a PC, go to Edit > Preferences > Units & Increments… Then, under Ruler Units, change Horizontal and Vertical from “Picas” to “Inches”. Then hit “OK.”
B. Create a new document in Adobe InDesign: Go to File > New > Document… Then change these settings:
Number of Pages: 3
Facing Pages [Checked]
Width: 10 in; Height: 8 in
Then hit “OK.”
C. Design a 2-page spread layout: On page 2 and 3, you will design a 2-page photobook spread. This is meant to showcase your photography portfolio. Include a title, a paragraph of text with at least 3 sentences, and at least five images on the spread (not including background textures). Use your own past photos. (You may use photos taken for Comm 130.) Make sure you follow the design and typography principles you learned in COMM 130 Visual Media. Click here for some great inspiration from Pinterest.
D. Export your spread: Once you design your two-page spread, go to File > Export… Then, choose Format: JPEG, rename your file to “YourFirstnameLastname-photobook-spread.JPG,” and hit “Save.” Next, type in Range: 2-3, check on “Spreads,” and choose Image Quality: Maximum, Resolution: 72ppi. Hit “Export.”
PART 4: SUBMISSION
Go to Submission for this assignment and include the following:
A. Attach the PDF document of your Workflow. Be sure to include all the required Workflow steps in your write-up
B. Attach the correctly-named jpeg of your 2-page Photobook layout
Study and Practice this
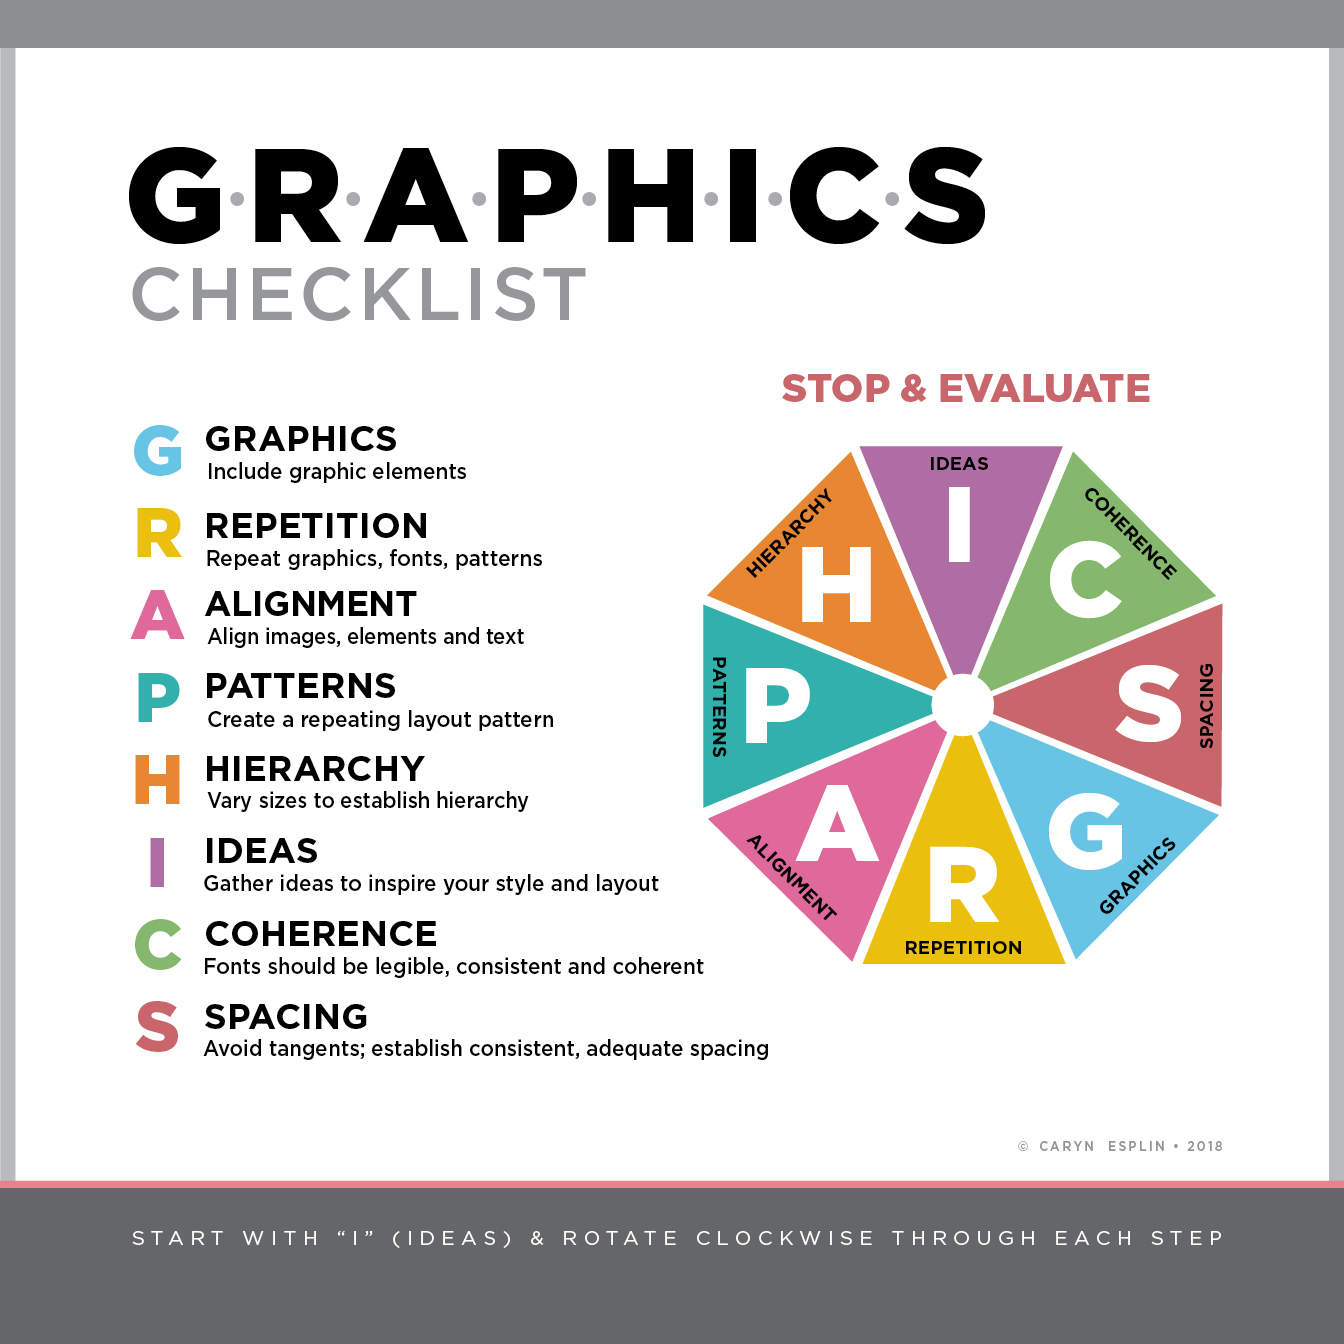
G-R-A-P-H-I-C-S Checklist
You will follow this process later in the semester when you design your photobook. You will report how you achieved each step in this process. This exercise is to get your thinking about your design so as you take your images, you can start refining your layout, style and theme. It is best to work on your photobook as you go.. even if you just spend an hour a week on it. This will save you time later on.
The first step starts at 12 0′ clock.. I for IDEAS. It helps to start a Pinterest board and pin photobook layouts and other design layouts and repeating graphic elements you like. This will give you ideas when you formulate your own style.