
Landscape fine art photography is one of the most popular photographic styles. Landscapes typically capture the presence of nature but can also focus on man-made features. Knowing how to capture great landscapes could help you share the wonders of the world with your family and friends or give you a great start on building your own fine art gallery.

TOP Tips for Landscape Photography
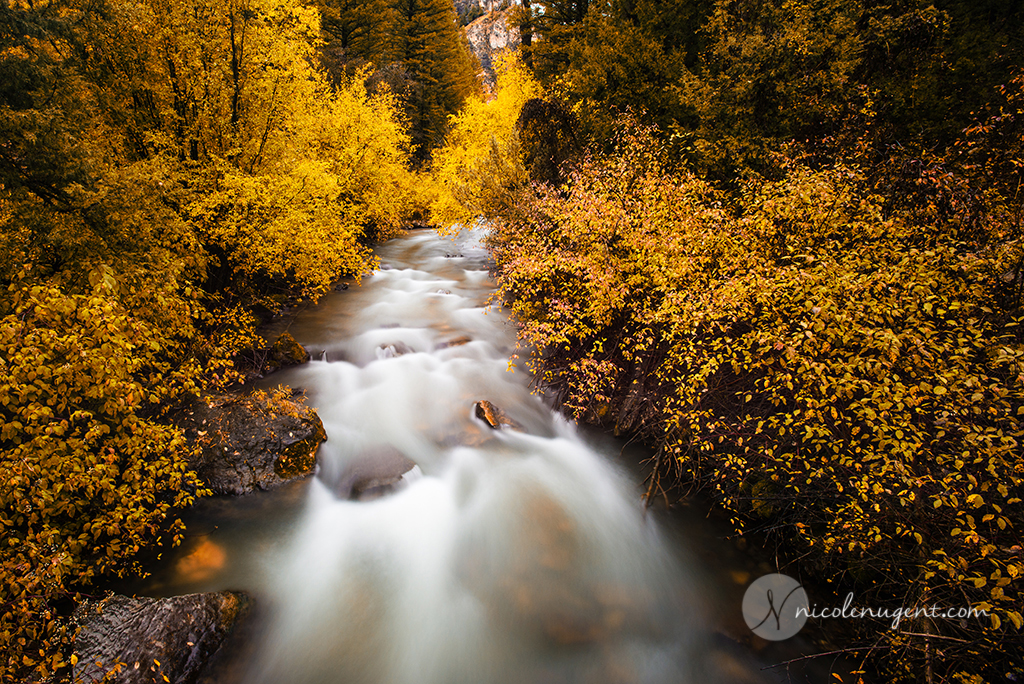
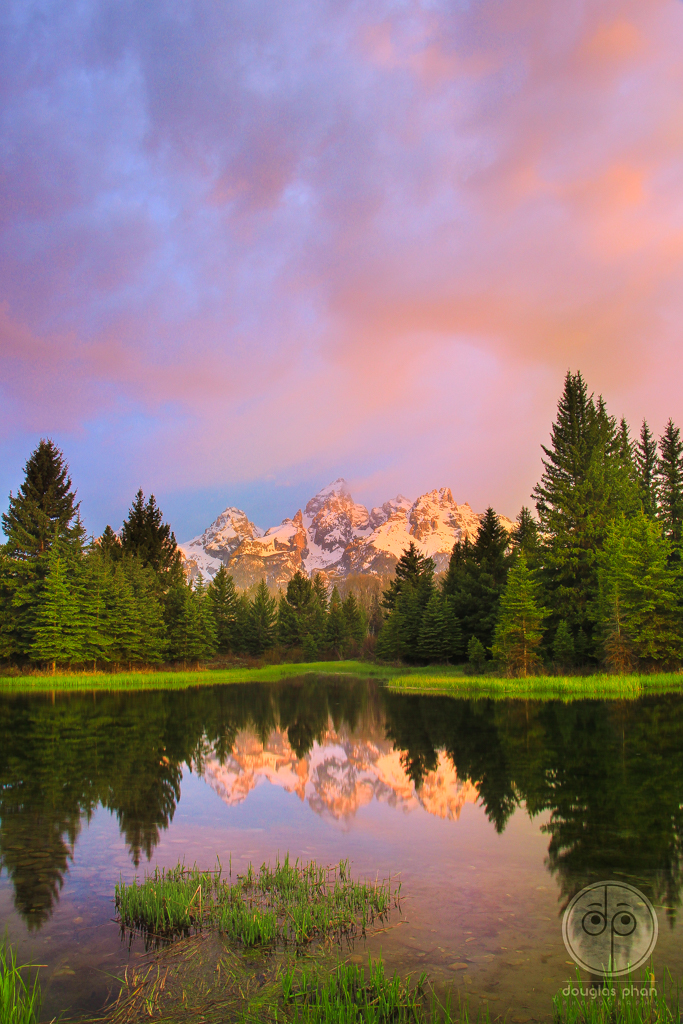
Try putting your tripod very low and bring rocks or something close into the foreground. Use a small aperture (f16-f22) to get both the foreground and the background in focus. Position yourself to capture something interesting in the foreground. Rule of thirds can also mean composing a scene so you have something in the Foreground, Midground, andBackground (Photo 1)
2. Stay after sunset for some long exposure blue hour shots and discover a whole new time of day for photography.
3. WARM & COOL: It’s usually a great #combination to include warm and cool colors together in an image. I’m intrigued whenever I can find complementary colors in nature!
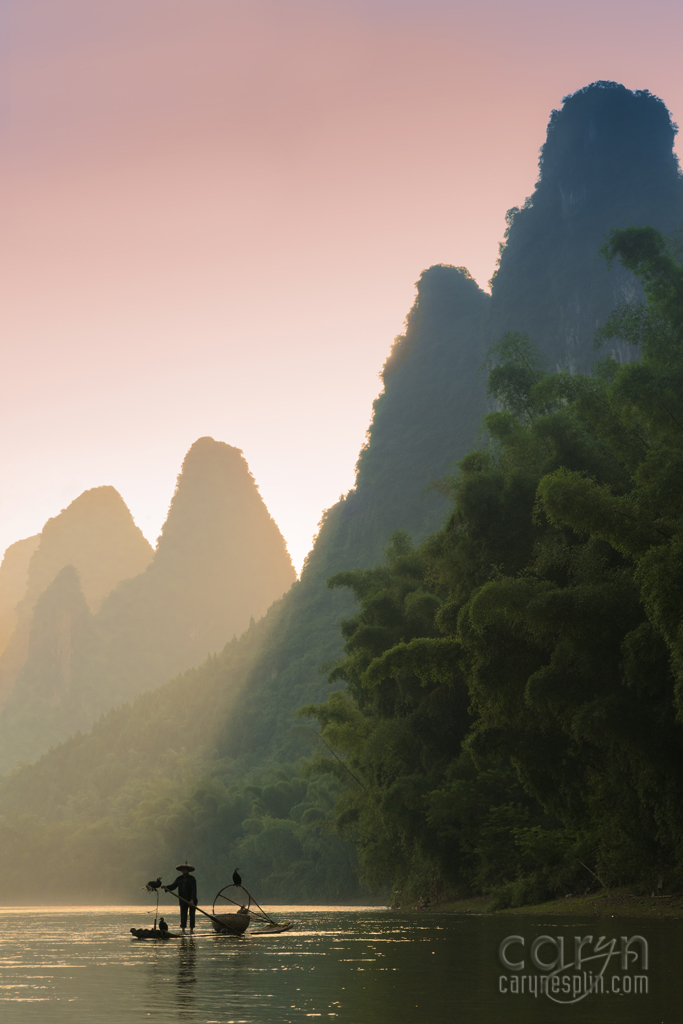
Photo 2: Heavenly Ray
4. Show SCALE: Put a person in your landscape to show scale and also to humanize the landscape. It can also tell a story behind the image (Photo 2)
5. Rule of Thirds: Place key objects and lines of the landscape on the third line of your composition to create interest.
6. Sunflare: Position the sun so it’s partially blocked by a tree or something. Then, set a small aperture like f/16 or 22 and bracket the exposure.
7. Lens Compression: We usually use a wide angle lens for landscapes but try something new! Move away to get a more interesting foreground and zoom in. The lens compression from zooming brought the background subject much closer to create an interesting composition. The added bonus of zooming is you can get more wildlife since you are further away.
For more photo tips and examples, check out my Instagram @carynesplinphoto.
Equipment
DLSR Camera
Tripod (as needed)
Overview
• 2 sets of ESES images (total of 4 images)
• 1 landscape that is a LOW ANGLE + DEEP DEPTH + RULE OF THIRDS
• 1 landscape that is SHALLOW DEPTH (Include building in background)
• 1 HUMANIZING the landscape image
Landscape ESES Instructions
A. ESES – Use LFCC techniques to turn an “Everyday Snapshot” into an “Extraordinary Scene”
1. Capture 2 sets of ESES images (Total of 4 images):
• 2 Everyday Snapshot Images: Quick photo of a everyday scene, without any attention taken to unique photography principles.
• 2 Extraordinary Scene: Capture of the same scene, but in a unique manner to create a captivating composition and exposure. Use a tripod, shoot in raw, and bracket your shots (+2, 0, -2 exposures) for high-quality post production and large format printing (For your blog post, follow the Photoblog Instructions)
B. Landscape
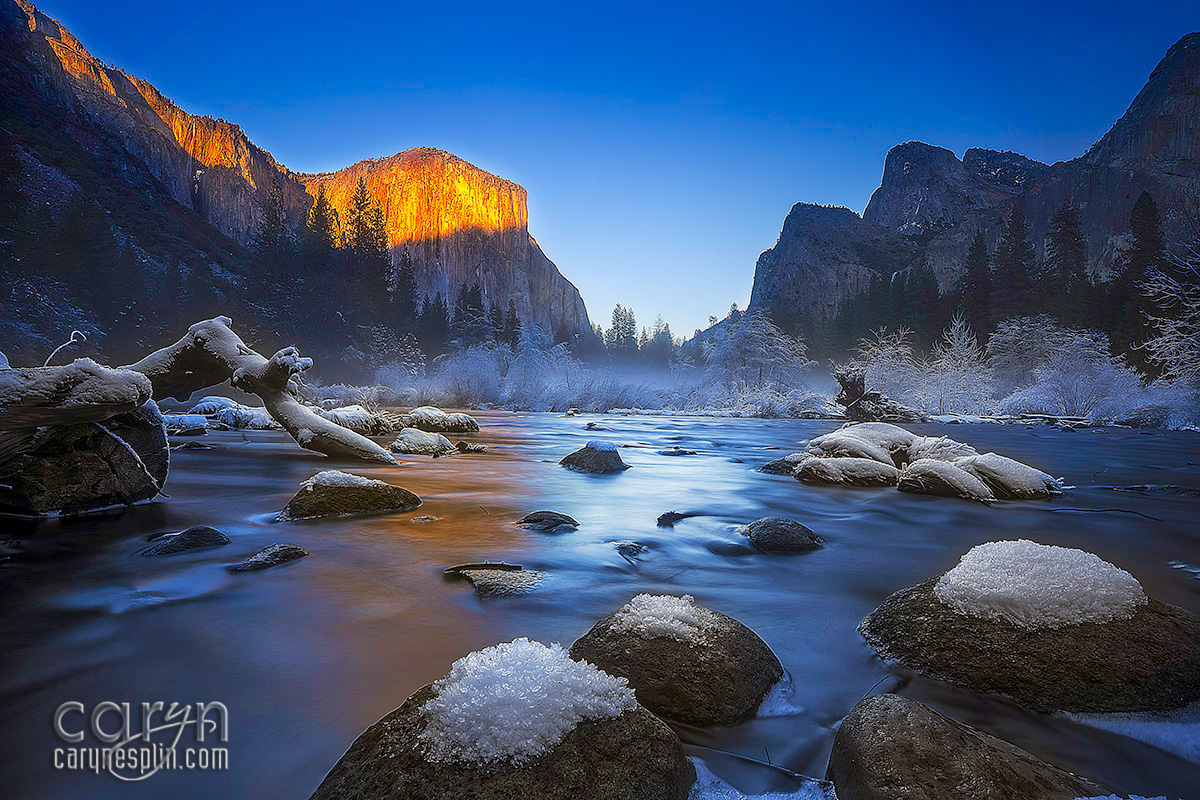
2. LOW ANGLE + DEEP DEPTH + RULE OF THIRDS: Capture a landscape image at a low angle, using a small aperture (f/16, f/22) to capture a deep depth of field. Include foreground elements, middle ground elements, and background elements to capture “depth rule of thirds.” Also apply the rule of thirds for composition to include strong lines along the vertical and horizontal one-third lines in the frame. Use bracketing to capture three different exposures. (Example: Yosemite image in the example)
3. SHALLOW DEPTH (Include building in background): Capture a landscape image with two distinct subjects that are far apart from each other. The subject in the distance should be a building. For example, a branch in the foreground with an old building in the background allows you to use a large aperture (f/3.5, f5.6) so one subject is sharp and in focus, while the other one is shown in “bokeh” and blurred for a soft focus effect. (Example: Cherry Blossom image in the example)
4. HUMANIZE THE LANDSCAPE: Choose a landscape with “larger than life” features, such as huge mountains, boulders, or waterfall. Include a distant person in your landscape to show scale and/or tell a story.
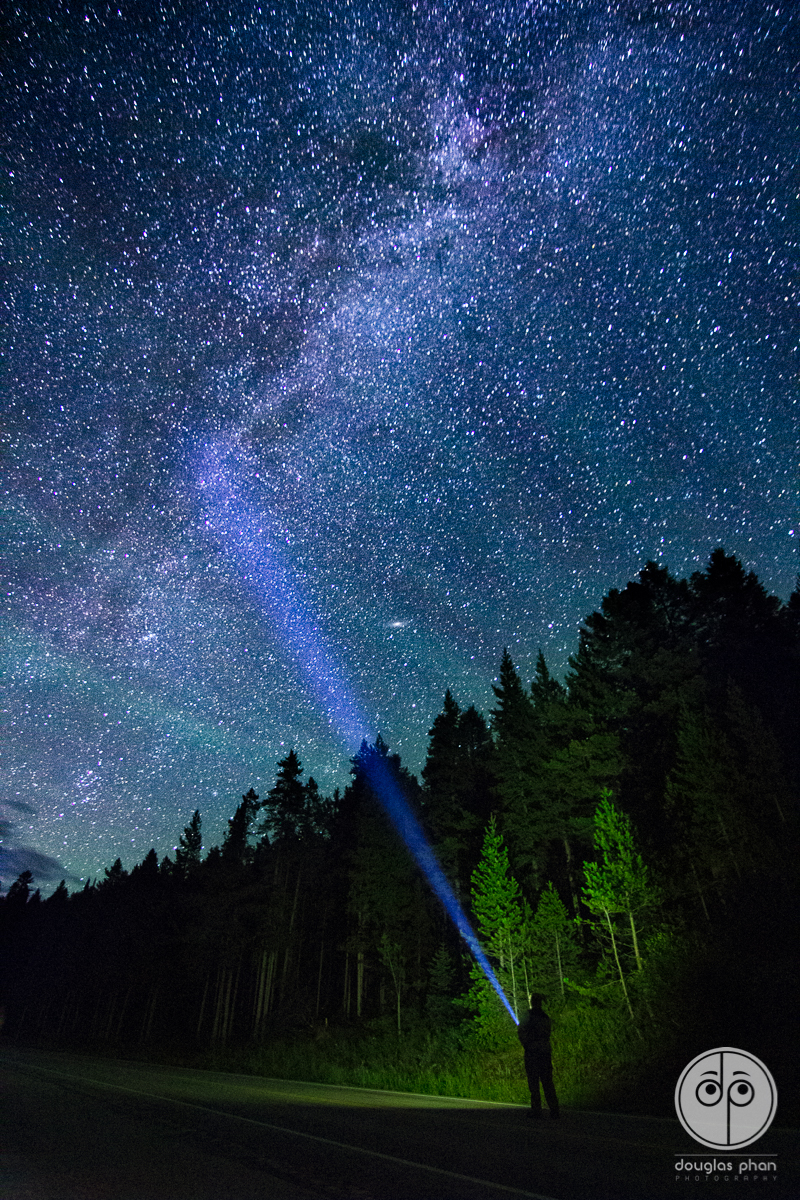
CHALLENGE: LONG EXPOSURE: (If you complete this challenge, you can earn one point back on this project for anything you miss.) Use a slow shutter speed and low lighting to capture motion in your landscape like moving water, moving clouds, stars, or even people walking.
Submission:
Do not submit until everything is complete. Once you submit, be sure NOT to change anything on your post, until after it is graded. Follow the Submission Instruction
Rubric
NOTE: Meeting the minimum requirements is “average” and constitutes an 80% or B- grade, according to the University Grading Guide. To receive a higher grade, students should excel. However, quality and/or difficulty is more important than quantity.
√ SIZING: Photos sized to 1024 pixels on the long side. First part of jpeg filename is student’s name. Example: JakeSpencer-Tetons.jpg. Photos displayed at “Large” size in blog post, per instructions in Week 1 > Photo Blog Instructions. Photos are clickable.
√ PROCESS: Detailed paragraph (3-5 sentences) about the process.
√ INSTRUCTIONS: 2 sets of ESES images, total of 4 images, showing a regular snapshot and an extraordinary shot. 1 landscape that is a LOW ANGLE + DEEP DEPTH + RULE OF THIRDS. 1 landscape that is SHALLOW DEPTH (Include building in background). 1 HUMANIZING the landscape image.
√ PHOTO QUALITY: Light – Focus – Composition – Creativity.
√ APPROPRIATE EDITS for professional display.
√ SUBMISSION: Link submitted was a true hyperlink and linked directly to the completed blog post.
CAUTION: YOUR ASSIGNMENT IS NOT COMPLETE UNTIL YOU SUBMIT A LINK TO IT HERE. However, you are allowed a one-time extension, if you choose to use your mulligan. Please read about it in the syllabus. We check your blog post for completion right at the deadline, so please do not add things later. Everything needs to be complete when you post the link.