
PLAN AHEAD: Levitation, commercial and conceptual images can require some planning. Google Levitation photography to get ideas! Review the assignments below and start brainstorming about what props you may need to bring. We will have awesome models on hand dressed in period costume, similar to the sample images provided. We will provide you a handout with the assignment and itinerary when you board the bus. You will be capturing images for four separate posts.
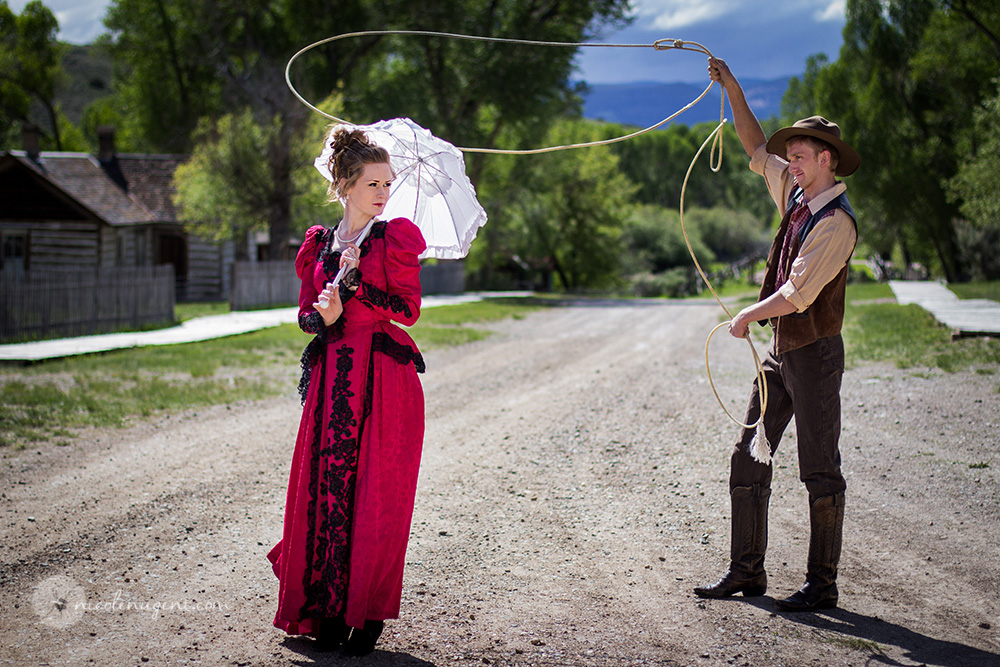

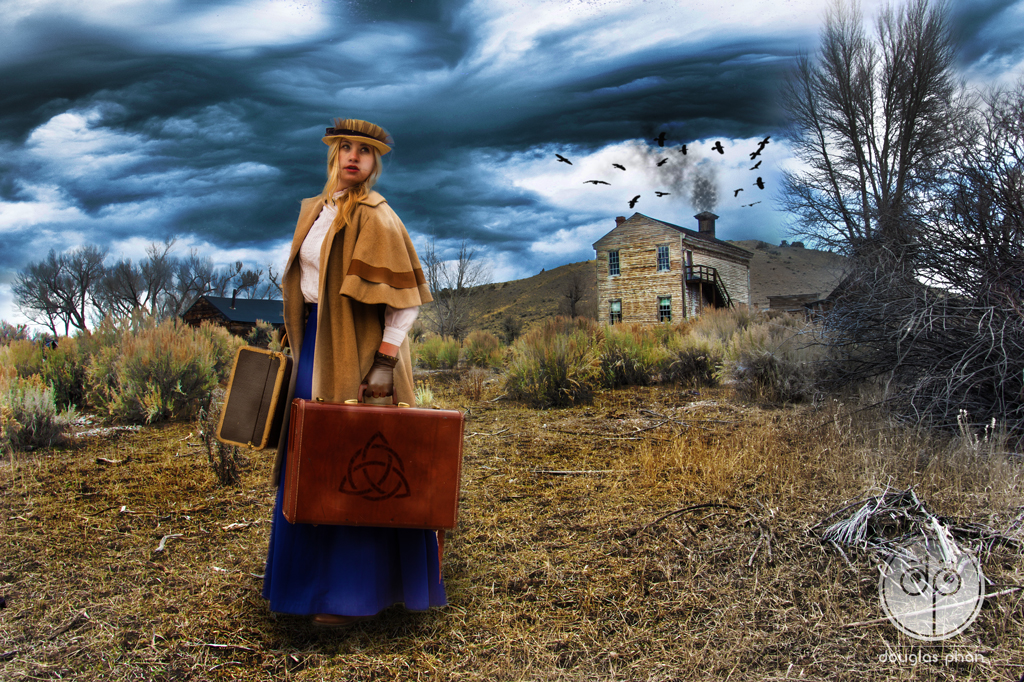
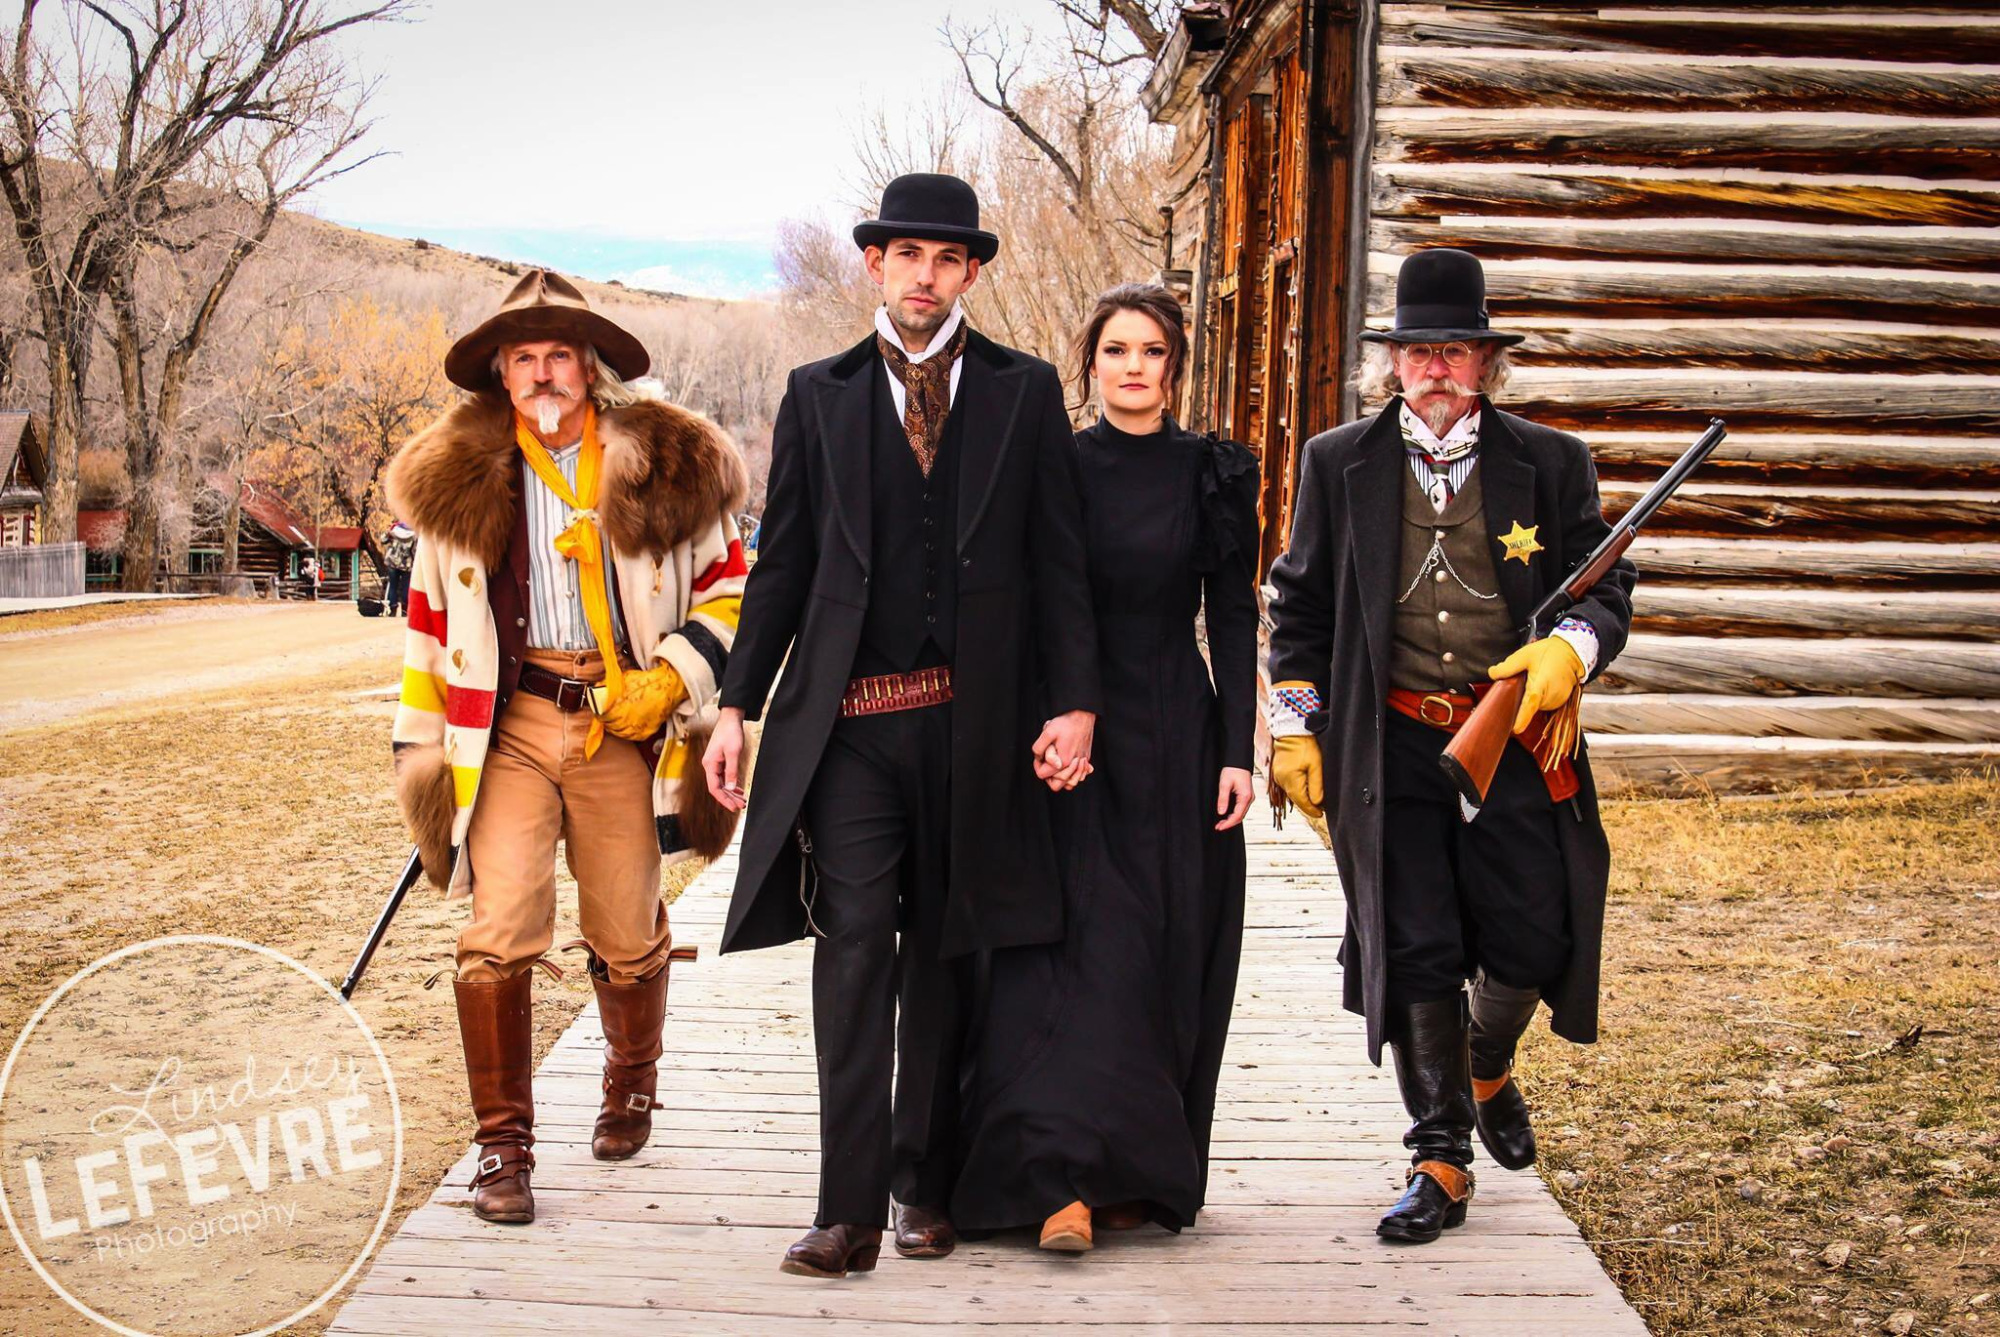
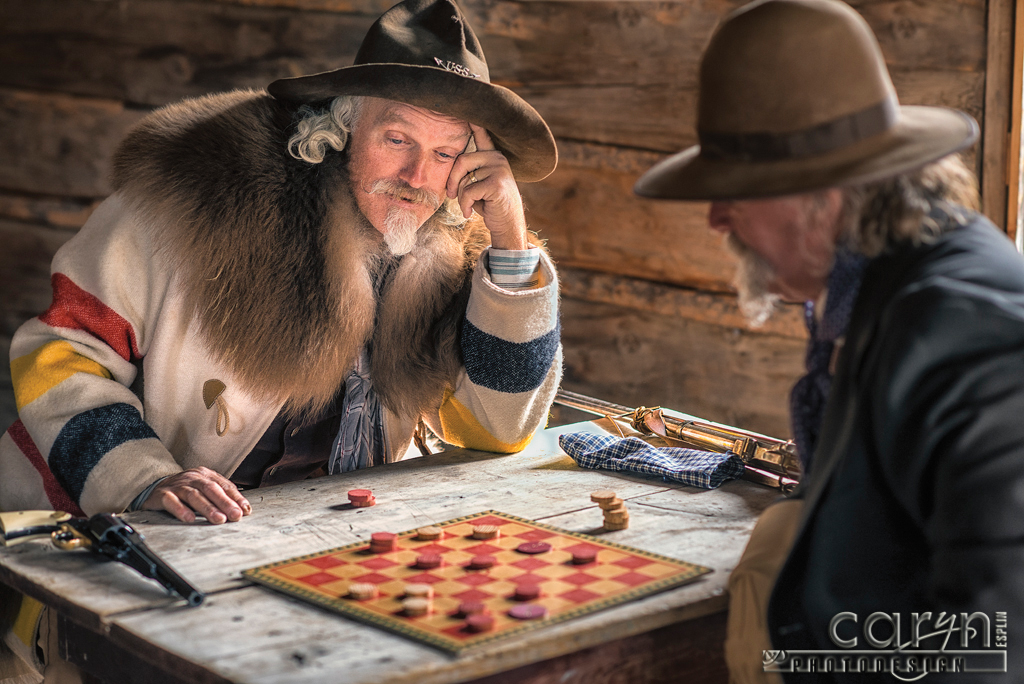
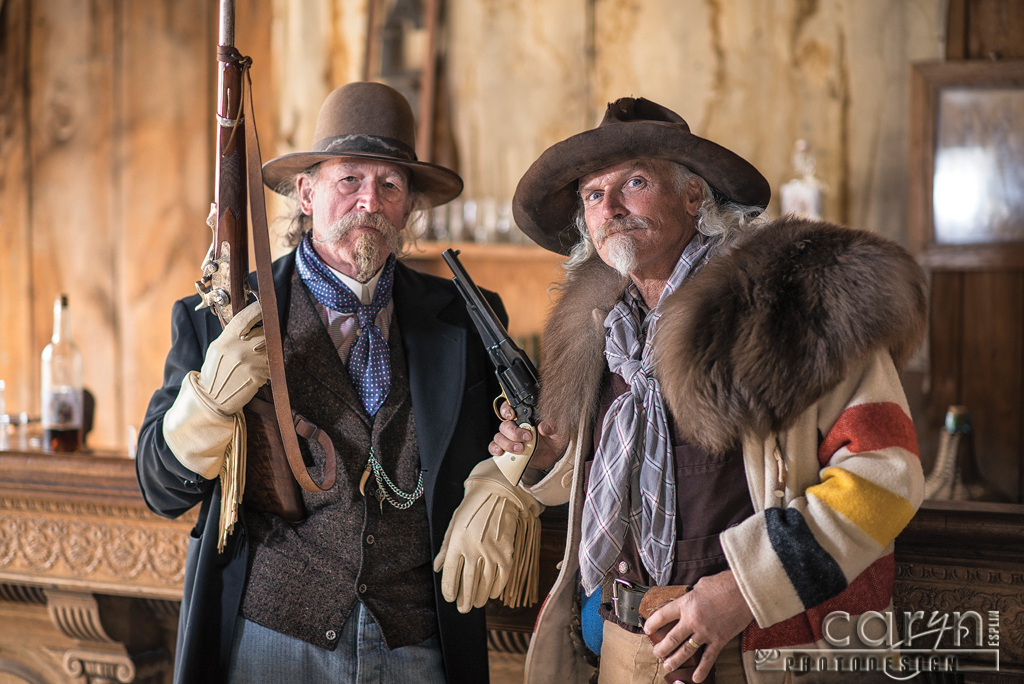
Google it: Bannack Ghost Town
Equipment Needed
Adobe Photoshop or Lightroom for appropriate adjustments.
PROPS: Bring props for your Commercial, Conceptual and Levitation photos as needed. Read the Assignments and Google “Levitation photography” and “Conceptual photography” for ideas.
Overview
• 1 Bannack Creative blog post with 5+ images
• 1 Bannack Series blog post with 5+ images
• 1 Bannack Fine Art blog post with 5+ images
• 1 Bannack Portrait blog post with 5+ images
Instructions
CAPTURE IMAGES for 4 separate blog posts (All images must be taken at Bannack)
A. CREATIVE (5+ images total, with 1+ images of EACH genre listed below)
1. LEVITATION: Complete one levitation image using a tripod, multiple images of the same scene, with any subject. To create a levitation image you will use multiple images and Photoshop masking. Follow this tutorial.
1. PLAN AHEAD and bring any objects you may need to complete these while at Bannack. You may want to coordinate with your group. Try getting props at D.I. or borrowing things. We will have a chair/stool for each group at Bannack to use for subjects to stand on.
2. SUBJECT ON STAND: Using a tripod, focus on your subject that appears to be in mid-air, but supported on a chair, stool or other object.
3. EMPTY BACKGROUND: Change your Auto focus to Manual focus to keep the same focus point. Do not change other camera settings. Then without moving the tripod, capture the same image background without the subject or stand. (Bracketing is optional, but may be helpful in post production.)
2. GHOST: Go somewhere dark; Use a tripod and slow shutter to capture a transparent, moving subject.
3. ABSTRACT: Do something different! See things in new ways. Try texture blends, macros or composites.
4. COMMERCIAL: Take an image that you can later add a logo and/or text to sell a product, idea, service, architectural, or location
5. CONCEPTUAL: Portray a concept or story to the viewer.
BLOG POST: Be sure to include all five images, but you will need to post three images for your Levitation: 1 LARGE: final levitation composite; 2 THUMBNAILS: background, and subject on stool. Submit a working hyperlink directly to this post in I-Learn Canvas.
B. SERIES
Capture 5+ images with the same theme. IDEAS: Doorknobs, Windows, Doors, Textures, Wallpaper, Hats, Boots, etc.
BLOG POST: Submit a working hyperlink directly to this post in I-Learn Canvas.
C. FINE ART – non-portraits (5+ images)
Include at least 5 images of your best non-portrait Bannack photos (not included in any other post).
BLOG POST: Submit a working hyperlink directly to this post in I-Learn Canvas.
D. PORTRAITS (5+ images)
1. AUXILIARY LIGHT: At least 3 portraits using a reflector or auxiliary lighting: flash, strobe, or continuous light. In your blog post, be sure to specify which auxiliary lighting was used.
2. GROUP OF 2 OR MORE: Capture at least 1 group portrait with 2 or more people.
SUBMISSION:
BLOG POSTS: There will be 4 separate blog posts.
— CREATIVE AND SERIES ARE DUE TUESDAY.
— FINE ART AND PORTRAITS ARE DUE FRIDAY (1 WEEK AFTER BANNACK).
Post your final images large size, with thumbnails of any originals. Size at 1080px on the short side, rename your file to include your name and make sure all photos are clickable. Submit working hyperlinks to each blog post separately.
— SUBMIT LINKS AFTER POSTS ARE COMPLETE: Do not submit until everything is complete. Once you submit, be sure NOT to change anything on your post, until after it is graded. Follow the Submission Instruction.
— BEST PICS IN FACEBOOK ALBUM: Before 9am Wednesday, choose your best photo from each of your 4 blog posts and add them to the correct Class Facebook albums. NOTE: Go to Photos > Albums — in the left upper column of the FB Group.
Rubric
NOTE: Meeting the minimum requirements is “average” and constitutes an 80% or B- grade, according to the University Grading Guide. To receive a higher grade, students should excel. However, quality and/or difficulty is more important than quantity.
√ CREATIVE: 1+ levitation images. In Blog post, include 3 images: Large final levitation composite, and thumbnails of other images used. 1+ ghosting image, 1+ out-of-the-box image, and 1+ conceptual or abstract photo
√ SERIES: 5+ images with the same theme
√ FINE ART: •5+ images of your best non-portrait photos (not included in any other post).
•GRAYSCALE: In post production, change at least one image to grayscale or sepia.
√ PORTRAITS: 5+ portraits, varied lighting. At least 2 with reflector/auxiliary lighting.
√ PHOTO QUALITY: Light – Focus – Composition – Creativity
√ APPROPRIATE EDITS: for professional display – Photos are clickable.
√ SIZING: Photos sized to 1080 pixels on the short side. First part of jpeg filename is student’s name. Example: JakeSpencer-Tetons.jpg. Photos displayed at “Large” size in blog post, per instructions in Week 1 > Photo Blog Instructions. Photos are clickable.
√ SUBMISSION: Links submitted are true hyperlinks and link directly to the completed blog posts. Best photo to FB by 9am on Wednesday.
Additional Learning: HDR – Photomatix
CLICK HERE to see the result of blending three bracketed exposures
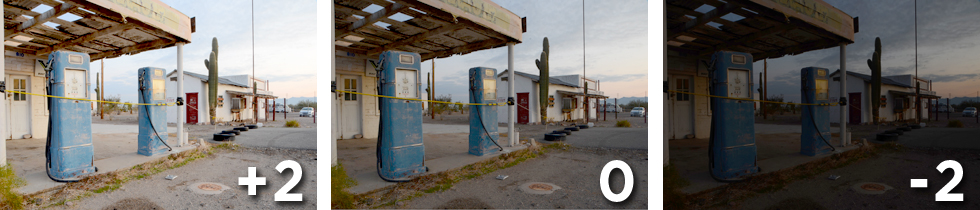
PHOTOMATIX – FREE TRIAL VERSION – Adds a watermark to images – http://www.hdrsoft.com/ This link will take you to the download page for Photomatix. This is incredible software and endorsed by many pros. The most famous HDR expert, Trey Ratcliffe has the master touch with this software. Check out his website. You can get some great light and details if you practice with the tone mapping options. But BE SO CAREFUL not to oversaturate the colors or muddy up the skies in the tonemapping stage. Most of the time, you will need to bring the Photomatix blended image back into Photoshop to mask in the better sky, etc.
If interested, you can buy Photomatix for $25 with our class discount code: We received special permission from Photomatix to offer you the super-duper academic discount that photography majors receive. Here is the quote from the email they sent me: “For students like those in your Digital Imaging course we offer a 75% discount which comes to $24.75 for Photomatix Pro and $29.75 for Photomatix Pro Plus (Be sure you get the Photomatix Pro Plus for the best features!). For those students that express an interest in purchasing Photomatix I would kindly ask that you direct them to our academic discount page below where they can learn more about the discounts available and the documentation required to receive them: http://www.hdrsoft.com/order/academic.html