
Motion
Using varied shutter speeds to gather light and illustrate motion can be exhilarating. Control your shutter speed to freeze and blur motion. Get creative with this! Use the Shutter Priority Mode: S (shutter) or Tv (time value) to control how long your shutter stays open. In Shutter Priority mode, you control the shutter speed and your camera chooses an appropriate aperture based on the available light.
Depth
With varied aperture (f/stop) settings you can keep everything sharp, or blur the background. Use the Aperture Priority Mode: S (aperture) or AV (aperture value) to control how wide your lens opens, and that determines how much is in focus, which is called “depth of field.” In Aperture Priority mode, you control the aperture and your camera chooses an appropriate shutter speed based on the available light.

Google it: Examples of frozen motion – Examples of blurred motion – Examples of deep depth of field – Examples of shallow depth of field
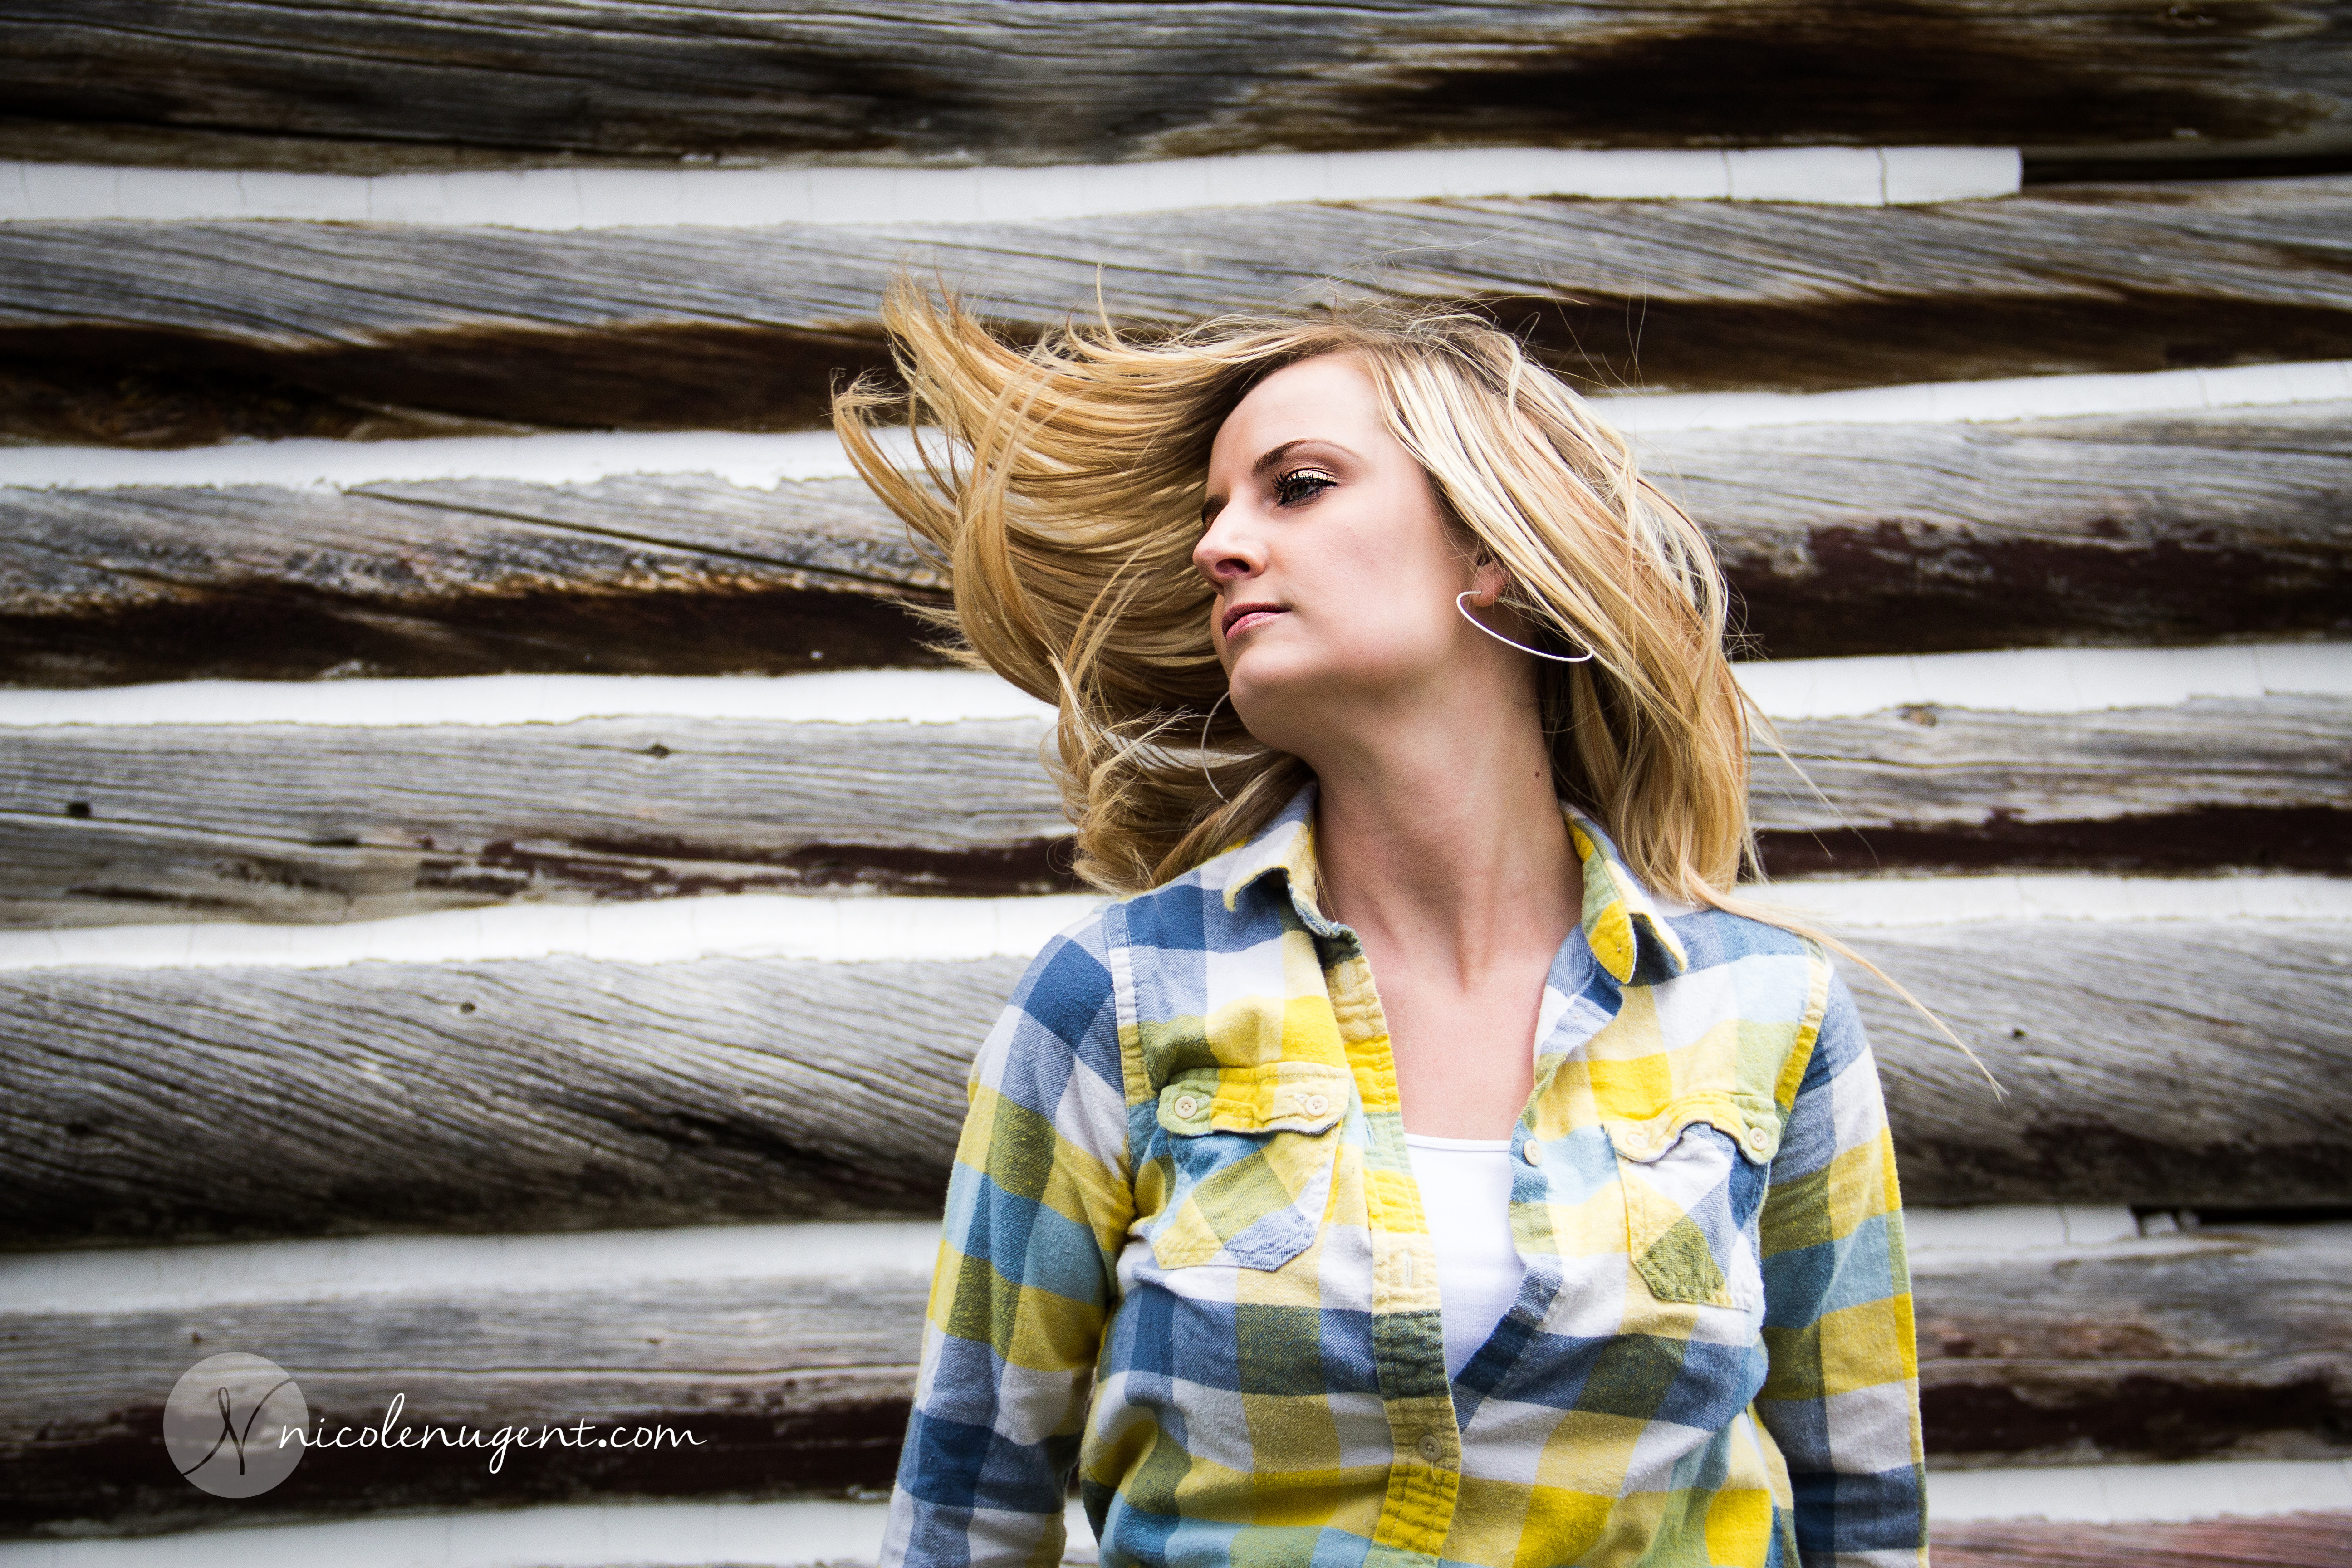
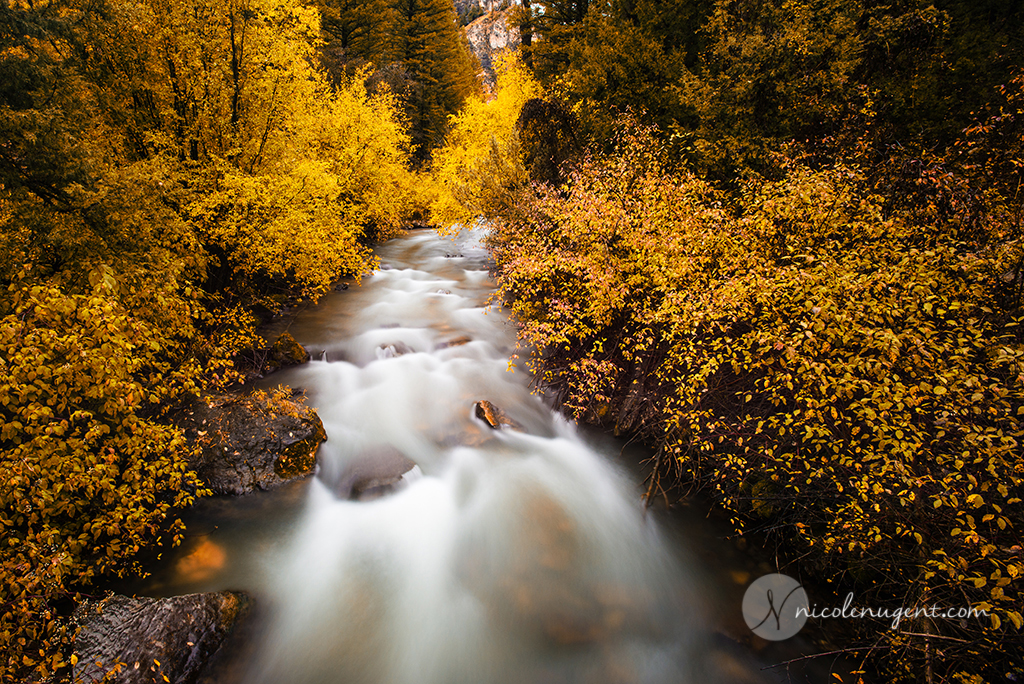
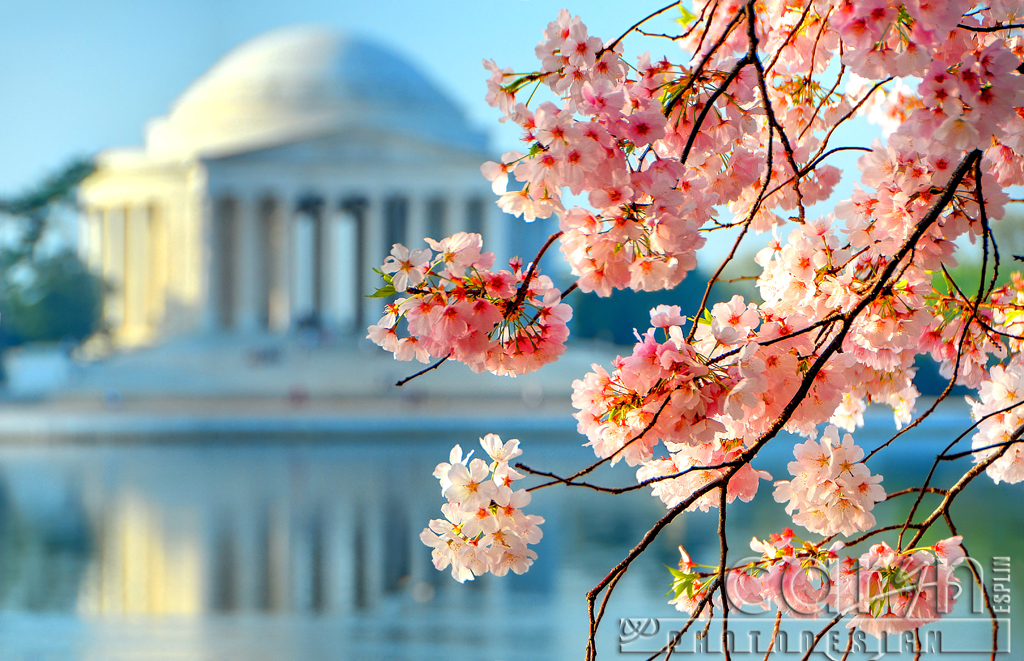
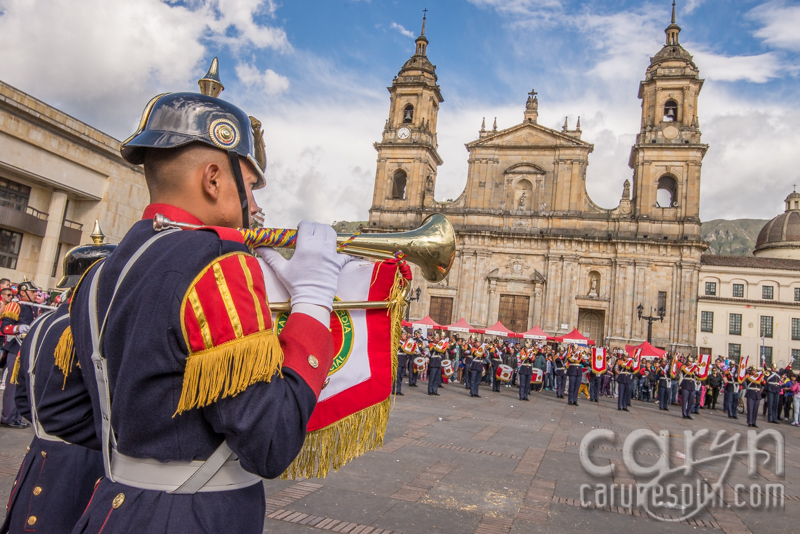
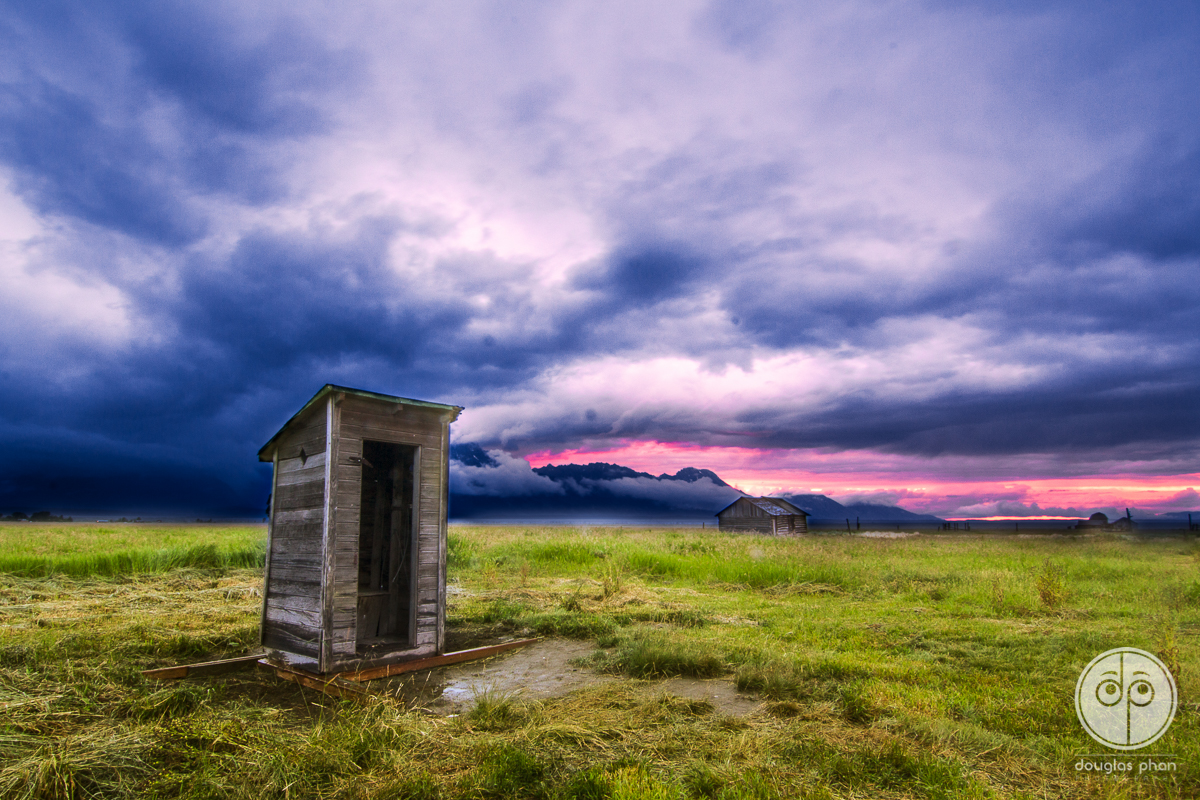
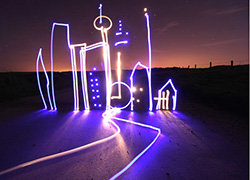
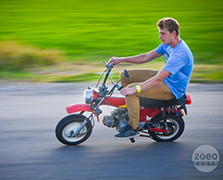
Past Student Work
Equipment
DLSR Camera; Tripod for the blurred motion shots (or flash shots)
Adobe Photoshop or Lightroom for appropriate adjustments (exposure, color, sharpness).
Overview
• FREEZE: Submit on blog at least 1 image to show frozen motion.
• BLUR: Submit on blog at least 1 image to show blurred motion
• DEEP: Submit on blog at least 1 image to show deep depth of field
• SHALLOW: Submit on blog at least 1 images to show shallow depth of field
Instructions
1. FREEZE: Capture at least 1 image to show frozen motion.
Use S or TV mode (Shutter Priority); Rotate dial to a fast shutter, such as 1/500 of a second (or 500 on some cameras); Choose broad daylight to gather plenty of light with this fast shutter speed. Or use a fast shutter during low light to freeze action on a silhouette. Or use a flash or speedlight in low light to freeze action, but only use a flash for one of your examples. Handhold your camera with confidence, because camera movement will not prevent a sharp image with this fast shutter speed.
2. BLUR: Capture at least 1 image to show blurred motion
Use S or Tv mode (Shutter Priority); Rotate dial to a slow shutter, such as 1/10 of a second (or 10 on some cameras); Choose low light. You will need a slow shutter speed to show blurred motion. To avoid camera shake, you must use a tripod. Your background should be sharp, with your moving subject(s) blurred. Get creative! Be sure to show variety, so if you do one image at night be sure the other one is in more light.
3. DEEP: Capture at least 1 image to show deep depth of field (foreground and background in focus) REMEMBER: Large number = Large amount in focus.
Use A or Av mode (Aperture priority); Rotate dial to a large number (small aperture), such as f/16 – f/22; Choose broad daylight to gather plenty of light with this small aperture to get the foreground and background in focus. Focus on something in the foreground (5 -15 feet away) and something distant in the background (building, mountains, etc.) If you shoot this inside, be sure to use a tripod and shoot in a long room with a large distance between a close object and a far object, to show everything is in focus.
4. SHALLOW: Capture at least 1 images to show shallow depth of field (only a narrow area in focus, with bokeh (background blur) REMEMBER: Small number = Small amount in focus.
Use A or Av mode (Aperture priority); rotate dial to a small number (large aperture) such as f/3.5 (do not use zoom to get this low number). Focus on your subject and be sure the background is not too close, or you won’t get enough background blur to show your shallow depth. Keep things at least 15-20 feet away to show plenty of bokeh. You can shoot this inside or outside with moderate or low light, but not dark.
Image Labels (Metadata)
Paying attention to your camera settings will help you learn how to improve your exposure. For this week’s blog post, you need to label each photo with following “metadata:” 1. Title of photo – 2. Date, Time, Place – 3. Focal Length – 4. F/stop (aperture) – 5. Shutter Speed – 6. Camera – Other: tripod, flash, reflector, self-timer, remote, etc.
Find this information called “metadata” in Adobe Photoshop or Bridge. Go to File – File Info – Camera Data. Note: The aperture is the same as the f/stop. It looks like this: f/11. The shutter speed is a fraction and looks something like this: 1/125. Here, you can also find your exact date, time, focal length, and any flash information.
You can add these labels in a small amount of space in this order: Example: Eiffel Night: 02-14-08; 10pm; Las Vegas-Paris Casino; FL: 28mm; f/2.8; 1/15; Canon 710IS – Tripod. You may insert these labels beneath your images in your blog post, or in the image caption. Or you may add canvas size beneath images in Photoshop after sizing your image. Just choose a method that is best for you. Here is one example showing how simple is best until you are more experienced at blogging: http://gocaryn.wordpress.com/
Submission:
-Do not submit until everything is complete. Once you submit, be sure NOT to change anything on your post, until after it is graded. Follow the Submission Instructions
-Submit blog post link to the WEB URL tab on Canvas.
-Before 9am Wednesday, choose your best photo (only one) from this project and add it to the correct Class Facebook album. NOTE: Go to Photos > Albums -- in the left upper column of the FB Group.
Rubric
NOTE: Meeting the minimum requirements is “average” and constitutes an 80% or B- grade, according to the University Grading Guide. To receive a higher grade, students should excel. However, quality and/or difficulty is more important than quantity.
√ SIZING: Photos sized to 1024 pixels on the long side. First part of jpeg filename is student’s name. Example: JakeSpencer-Tetons.jpg. Photos displayed at “Large” size in blog post, per instructions in Week 1 > Photo Blog Instructions. Photos are clickable.
√ PROCESS: Detailed paragraph (3-5 sentences) about the process; Detailed Labels : Title, DTP, Focal Length, Fstop, SS, Camera.
√ INSTRUCTIONS: 1+ photo showing frozen motion; 1+ photo showing blurred motion, but with sharp background (tripod used.) 1+ image showing DEEP DEPTH…Foreground object and background are sharp; 1+, completely different photo showing shallow depth. Show bokeh (blur) but make sure something is sharp!
√ PHOTO QUALITY: Light – Focus – Composition – Creativity
√ APPROPRIATE EDITS for professional display
√ SUBMISSION: Link submitted was a true hyperlink and linked directly to the completed blog post.
CAUTION: YOUR ASSIGNMENT IS NOT COMPLETE UNTIL YOU SUBMIT A LINK TO IT HERE. However, you are allowed a one-time extension, if you choose to use your mulligan. Please read about it in the syllabus. We check your blog post for completion right at the deadline, so please do not add things later. Everything needs to be complete when you post the link.
Advanced Options, Tips & Tutorials
Google the following topics to find inspirational examples, tutorials and videos.
Attend Visual Society meetings to learn more advanced options and get inspired!

Motion
FREEZE – EXPLODING WATER BALLOON: Google “how to photograph exploding water balloon.” Use a low light setting with a speedlight (flash) to freeze motion.
BLUR – LIGHT TRAILS OR LIGHT GRAFFIT: Google “how to light trails” or “how to light graffiti” Use a tripod and long shutter speed, such as 30 seconds. Then allow moving lights to leaved blurred light trails. Or use a flashlight to draw light graffiti.
BLUR – PANNING OR ZOOMING: Google “panning photography” or “zooming photography” Lose the tripod and try panning. Move your camera at the same speed as a moving subject to blur the background and keep the still parts of the subject sharp. Use a tripod and slow shutter, such as 4 seconds, then zoom your lens during the exposure.
Depth
SHALLOW – USE MANUAL FOCUS TO GET CLOSER: Turn your lens to Manual Focus (Switch button to M on left side of lens) and manually turn the focus ring on your lens to dial in the focus at a much closer distance. The autofocus feature on your 18-55mm kit lens will not let you focus on anything closer than about 18 inches. But if you try this trick, you can get much closer and still get your lens to get a sharp focus. If you use a small aperture # such as f/ 3.5 – 5 then you will have more bokeh (background blur).
DEEP – WIDE ANGLE LANDSCAPES: Google “wide angle landscapes” for inspiration and use a wide angle lens, such as the Tokina 11-16mm to shoot sweeping landscapes that allow you to capture much more width. It is very effective when you get extremely close to a foreground subject, such as a tree stump or large rocks.
TIP – SUNFLARE SECRET: Using f/22 is the secret to getting a sunflare. Also, choose morning or evening so you can position yourself so the sun is partially blocked by an object, then use a tripod with these settings: f/22, ISO 100 and a slow shutter, such as 1/10 or 2 seconds, etc., depending on your available light. You should also use bracketing, which is to take the same shot with three different exposures: 0 (normal exposure), +2 (overexpose) and -2 (underexposed). This way you can an be sure and get the whole frame properly exposed. You may like the sunflare and sky better in the -2 shot, but you can mask in the foreground from the +2 image because it was too dark in the -2 image.