
Last week, students drew topics then create two ideas for a conceptual image. Then students create two sketches with a plan. Finally, students began executing their plan to create the conceptual challenge image and edit in post production. Students wrote about their process in a blog post with original and edited images.
This week you will finalize your conceptual image. You may need to re-take your image/images or completely re-edit your conceptual image depending on the critique you received in class from classmates and your instructor. This week you will also print and mount an 8x12 image and present it in class. Conceptual projects are judged by several groups and awards are announced at the final reception.


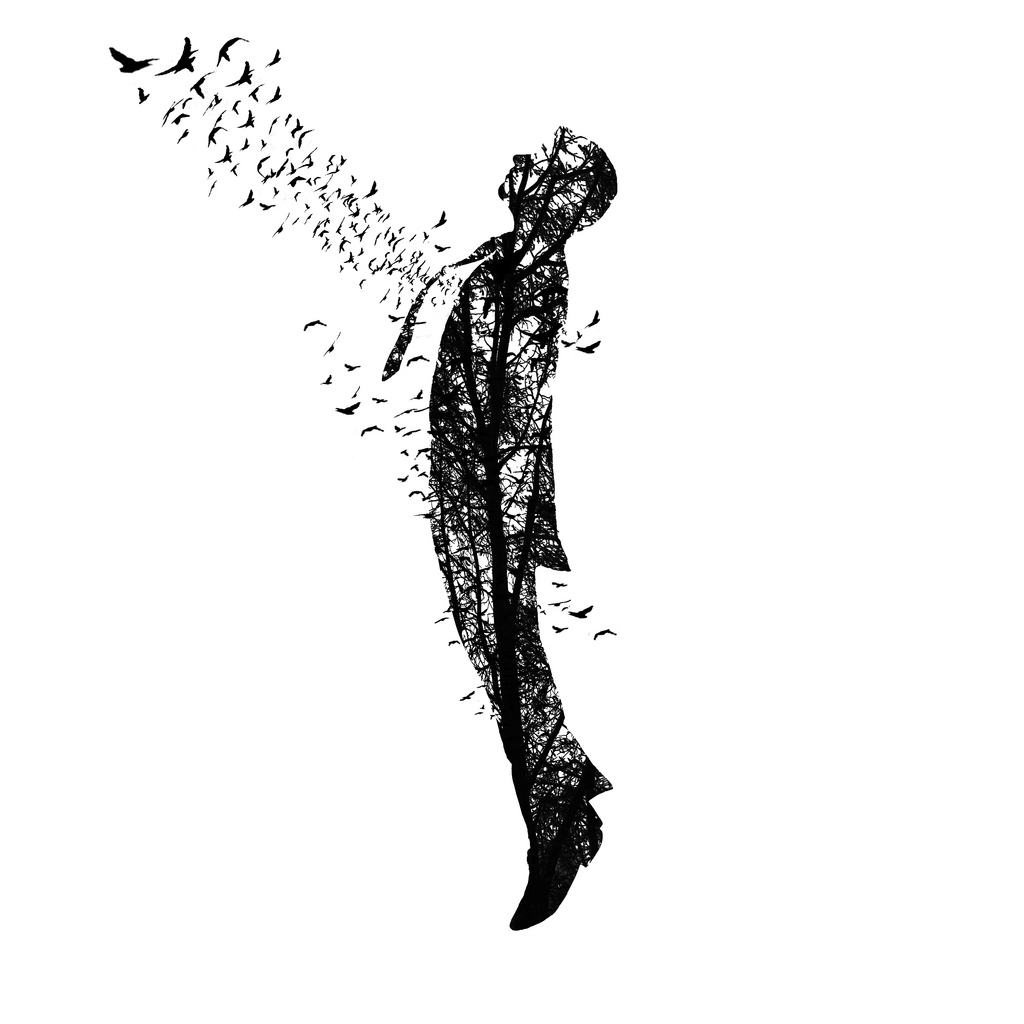
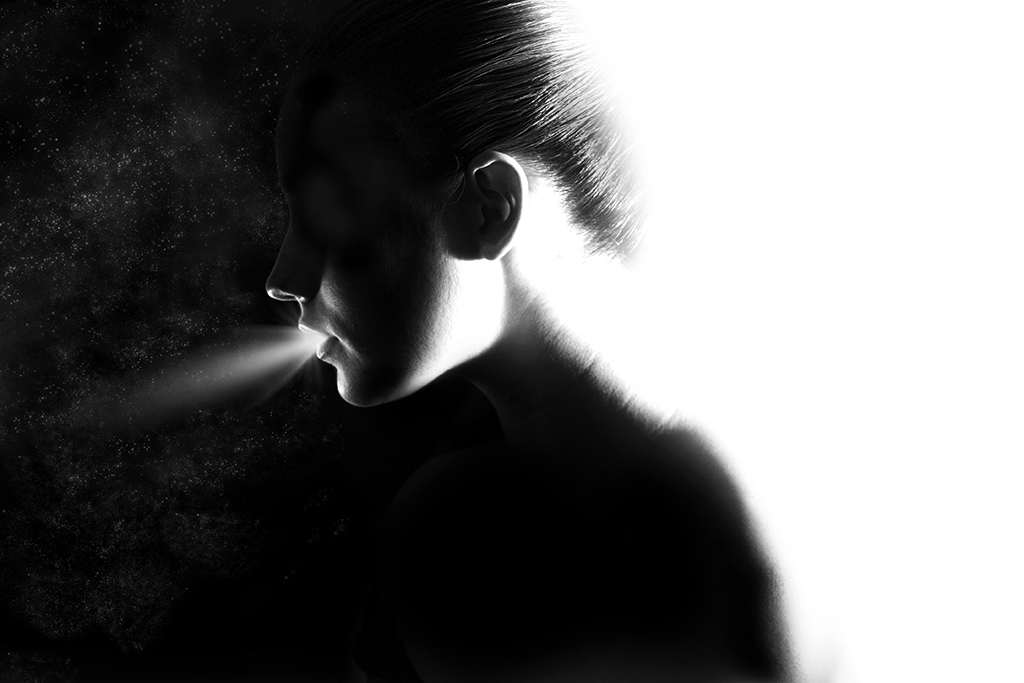
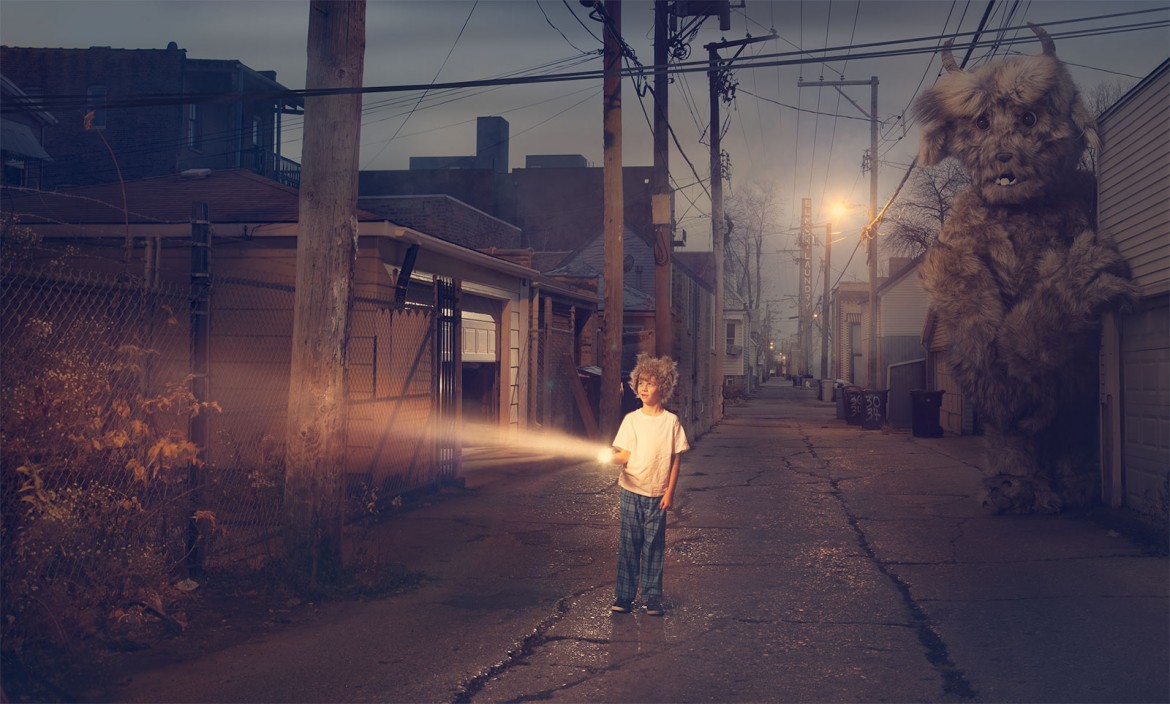
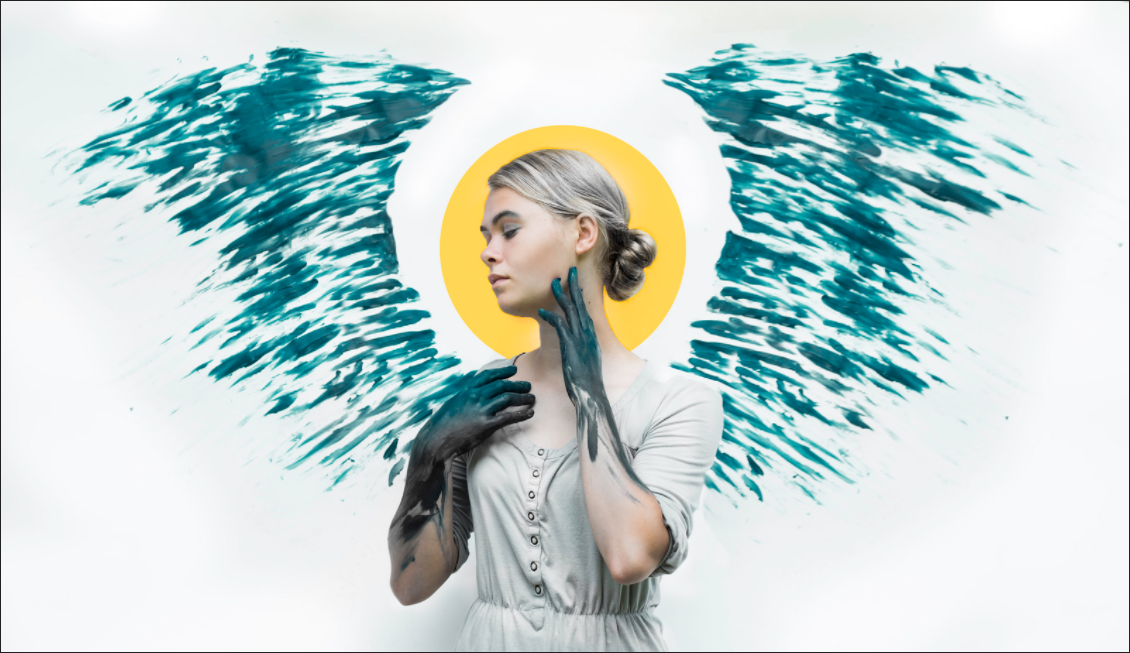
Google it: Conceptual Photography
You may want to check Erik Johansson’s work: http://www.erikjohanssonphoto.com/
Equipment
DLSR Camera; Tripod; Auxilary light
Adobe Photoshop or Lightroom
Instructions
1. INCLASS
Student will receive critique from classmates and instructor during class time. In your final blog post you will need to write what critique you received and how you adjusted your conceptual image accordingly.
2. FINALIZE YOUR CONCEPT
Adjust your image according to the critique given in class. Remember to sharpen and brighten your images so that they will print well. Then add to your blog post from last week, including images showing your entire process including: sketches, first draft, critique received, what you did to adjust your image after receiving critique, editing process and your printing process.
3. PRINTING
You will be required to bring your final conceptual image printed and mounted on foam core at the start of class. Follow this link to learn more about preparing your final image for printing.
4. SOCIAL MEDIA SHARING: Instagram
Post at least one of your perspective images on Instagram. – Use the #comm300 hashtag and tag @visualcomm.photos on the image not in the caption. – Search the #comm300 hashtag and view 6+ classmates’ Conceptual image posts. – Leave comments on at least three classmates Insta – Perspective image posts.
5. SUBMISSION:
– Follow the Submission Process
– List how many classmates’ Conceptual Insta posts you viewed and who you commented on.
– Example: I viewed 6+ classmates Conceptual; Commented on Lindsey, Ben, and Doug.
CAUTION: Your assignment is not complete until you submit it here. However, you are allowed a one-time extension, if you choose to use your mulligan. (See syllabus). We check your blog post for completion right at the deadline, so please do not add things after submitting your link, until it has been graded. In accordance with Comm Dept. policy, late work will not be accepted.
Rubric
NOTE: Meeting the minimum requirements is “average” and constitutes an 80% or B- grade, according to the University Grading Guide. To receive a higher grade, students should excel. However, quality and/or difficulty is more important than quantity.
√ SIZING: Photos sized to 1024 pixels on the long side. First part of jpeg filename is student’s name. Example: JakeSpencer-Tetons.jpg. Photos displayed at “Large” size in blog post, per instructions in Week 1 > Photo Blog Instructions. Photos are clickable.
√ PROCESS: Detailed paragraph (3-5 sentences) about the process; Detailed Labels : Title, DTP, Focal Length, Fstop, SS, Camera.
√ INSTRUCTIONS: 1+ final conceptual image from given words; original images;
√ PHOTO QUALITY: Light – Focus – Composition – Creativity
√ APPROPRIATE EDITS for professional display
√ SUBMISSION: Link submitted was a true hyperlink and linked directly to the completed blog post.
CAUTION: YOUR ASSIGNMENT IS NOT COMPLETE UNTIL YOU SUBMIT A LINK TO IT HERE. However, you are allowed a one-time extension, if you choose to use your mulligan. Please read about it in the syllabus. We check your blog post for completion right at the deadline, so please do not add things later. Everything needs to be complete when you post the link.