
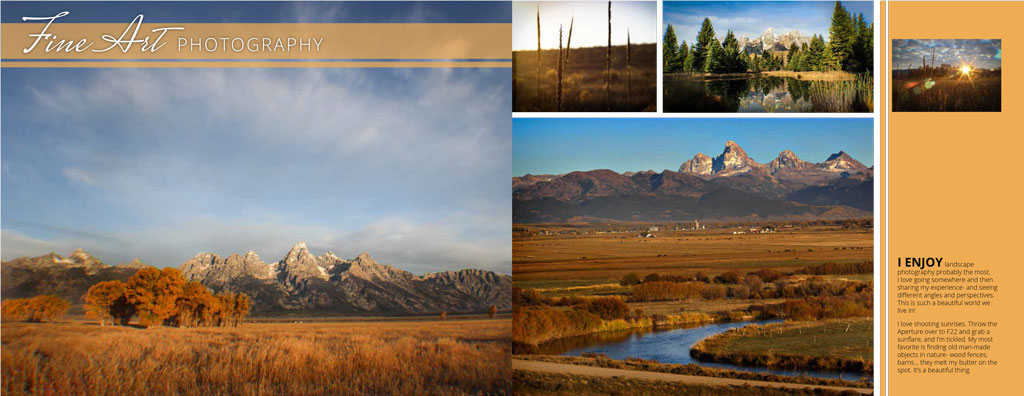
Photobooks are an exciting way to showcase your portfolio and show off your skills. Using your Visual FOCUS skills you learned in Comm130, you will create a 2-page spread in InDesign with an appealing layout. Later this semester you will custom design a full photobook; you may or may not choose to use this spread design in your final book. This is a great chance for you to brush up on the Visual FOCUS principles and apply them as you transition from Comm130 Visual Media to Comm300 Digital Imaging.
Google it: Examples of photobook portfolios
Equipment
Instructions
1. VISUAL FOCUS: Design a 2-page spread of a photobook portfolio.
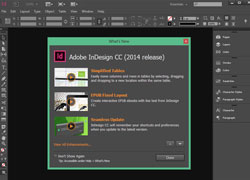
Using Adobe InDesign, you will design a 2-page photobook spread. This is meant to showcase your photography portfolio. Include at least 2 large images, with a minimum of five images on the spread (not including background textures). Using your own past or new images is preferred, but you may use others’ images with proper attribution. Follow the instructions in P4 Photobook Project for what size to set up your spread. While designing, keep in mind the FOCUS principles you learned in Comm130, and be sure to follow the Rules of Typography. Include at least 1 major title, a subtitle, and paragraph of text.
2. BLOG POST: Upload the spread on your blog
Export your 2-page spread from InDesign as a jpeg. Use the following instructions. Upload the jpeg to a new blog post and insert it at Large size. Include 3-5 sentences about your process and objectives in creating this design.
1. SETUP: Open a new document with three pages at 11.08 x 8.58. Check “facing pages” and .75″ margins to remind you to keep your text inside those margins. Place your background color or fullbleed images all the way to the edge of the page.
Range: 2-3 (type it in)
Select – Spreads
Select – Quality: High; Format Method: Baseline; Resolution: 72
Leave the rest at the default.
This will save pages 2 and 3 together as ONE two-page spread. Since the two pages are 22.16 inches wide when placed in a two-page spread, 72 ppi is plenty large. It will make your image 1584 pixels wide.
3. SUBMISSION: Do not submit until everything is complete. Once you submit, be sure NOT to change anything on your post, until after it is graded. When your assignment is complete, click “Open” on this page and submit the following:
1. A working hyperlink to your blog post (not home or log-in page)
2. A screenshot attachment showing your ENTIRE blog post.
*Follow these instructions of how to capture a screenshot of your blog post and how to correctly submit in I-Learn. Once you learn this process, it will only take about 1 minute to submit correctly.
Rubric
NOTE: Meeting the minimum requirements is “average” and constitutes an 80% or B- grade, according to the University Grading Guide. To receive a higher grade, students should excel. However, quality and/or difficulty is more important than quantity.
√ SIZING: Spread exported at 72 ppi. First part of jpeg filename is student’s name. Example: JakeSpencer-Tetons.jpg. Photos displayed at “Large” size in blog post, per instructions in Week 1 > Photo Blog Instructions. Photos are clickable.
√ PROCESS: Detailed paragraph (3-5 sentences) about the process
√ INSTRUCTIONS: 2+ large images; 5+ images total (not including background textures) on a 2 page spread. Includes 1 title, 1+subtitles, and 1+ paragraphs of text. Follows FOCUS principles and Rules of Typography.
√ PHOTO QUALITY: Light – Focus – Composition – Creativity
√ APPROPRIATE EDITS for professional display
√ SUBMISSION: Link submitted was a true hyperlink and linked directly to the completed blog post.
CAUTION: YOUR ASSIGNMENT IS NOT COMPLETE UNTIL YOU SUBMIT A LINK TO IT HERE. However, you are allowed a one-time extension, if you choose to use your mulligan. Please read about it in the syllabus. We check your blog post for completion right at the deadline, so please do not add things later. Everything needs to be complete when you post the link.
Advanced Options, Tips & Tutorials
Google the following topics to find inspirational examples, tutorials and videos.
Attend Visual Society meetings to learn more advanced options and get inspired!
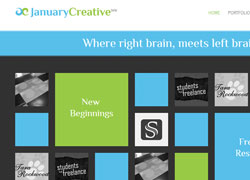
FLAT DESIGN: For a modern design style, Google “flat design.’ There are tons of articles and examples that will explain what flat design is and how to incorporate it.
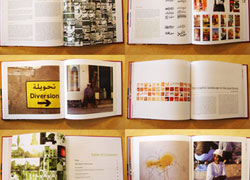
BOOK LAYOUT IDEAS: Google “Photo book layout ideas” for inspiration and ideas for different ways to design your 2 page spread.
TIPS FOR STARTING OUT IN INDESIGN: This tutorial can be very helpful when learning how to work in InDesign, or if you need a refresher.
FROM COMM130: If you need to refresh with the tutorials on InDesign from Comm130, check out this page. You can also review the FOCUS Principles and Rules of Typography.