
OVERVIEW OF PROCESS
You will set up an account with BLURB, choose your book type/size, download the InDesign plugin…and start your book. Your book will have 20 pages plus a front and back cover. You will design 2 single pages and 9 two-page spreads. The single pages are page #1 (Table of Contents) and page #20 Professional Page.
NOTE: You will design the front and back cover as a separate InDesign document! The COVER is not included in the same InDesign document as the 20-page book. IT IS VITAL THAT YOU SAVE BOTH THESE DOCUMENTS ON YOUR COMPUTER EACH TIME YOU WORK ON THEM. BLURB DOES NOT SAVE THEM FOR YOU!
- For your first assignment, you will design your first five pages: 1.Table of Contents (single page), 2-3. First Two-Page Spread, 4-5. Second Two-Page Spread.
- For your second assignment: HALF BOOK, you will add Four more Two-Page Spreads.
- For your third assignment. FULL BOOK, you will add the remaining Three Two-Page Spreads, Professional Page (last single page) and Covers (front and back)
- REQUIRED: You will bring an updated pdf to class for group critique. With your FIRST 5 PAGES & FULL BOOK you will bring 2+ printed pages (from different spreads) to class for group critique.
- INSTRUCTOR CRITIQUE: Meet with instructor for critique, make corrections and final revisions. Submit your photobook to Blurb for printing.
- Update your FINAL PHOTOBOOK and CREATE A BLOG POST… and submit a phone pic of your completed Eval Form.
- FINAL BOOK PRESENTATION – Bring the PRINTED BOOK to the FINAL RECEPTION. Print and bring the EVAL FORM you submitted when you completed your PHOTOBOOK BLOG POST and uploaded it in I-Learn Canvas. Also, sign up to bring a potluck food item in the Class FB post and if you need a ride you can coordinate carpool in that post too.
PREPARATION
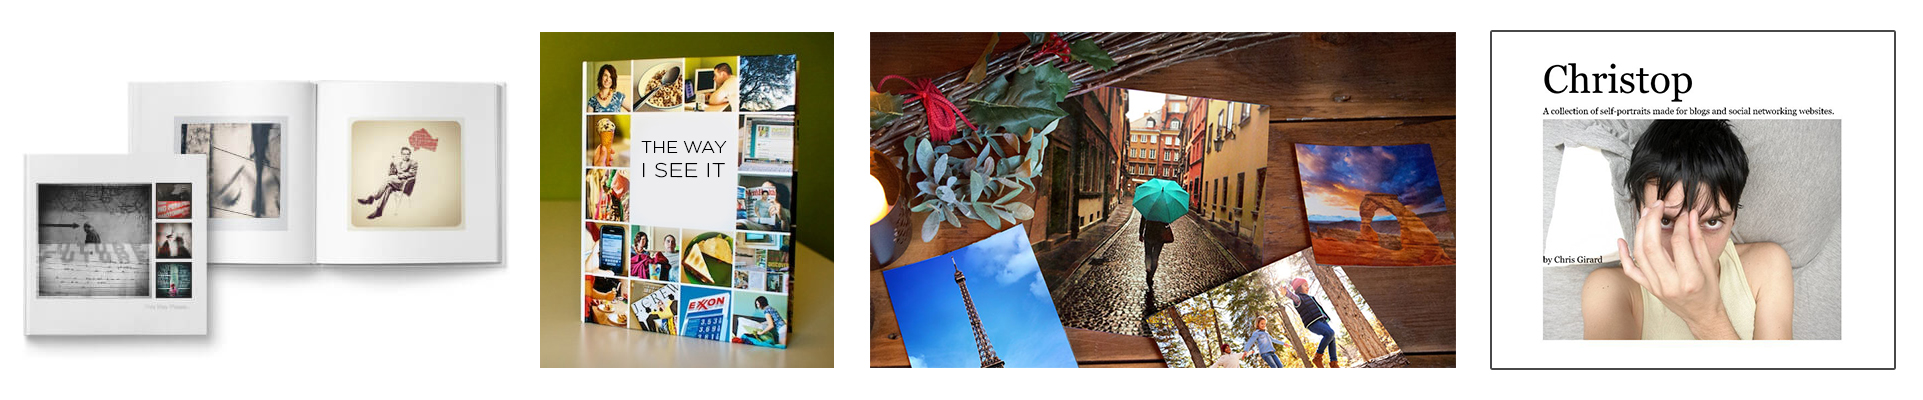
- Look for layout ideas: Google it: Ideas for photobook portfolios
- CHOOSE WHICH TYPE OF BLURB BOOK (with an IMAGE COVER) you will create:
- 8.5 x 11 Premium Magazine – starting at $6 less the current discount
- 8x10 Standard Portrait or Landscape – starting at $22 less the current discount (20% off or more)
BLURB BOOK CREATOR DESKTOP SETUP
- Go to blurb.com.
- Go to create > creation & Layout tools
- Download Adobe InDesign plugin
- Sign up for an account
- Download book creator – choose your InDesign (ID) version and OS
- Follow the steps: locate the file, open the installer, launch Adobe inDesign
- Open blurb book creator in InDesign: open InDesign > file> blurb book creator
- Create a new book
- Scroll down on the blurb install page to the get started videos and tutorials to help figure it out. YOU MUST WATCH THE VIDEOS TO KNOW HOW TO USE THE PLUGIN AND GET THINGS WORKING. These steps only get you started. Contact Blurb Help if you have problems. They will ask if you have watched all the videos and followed all steps, so please do that first. If you can’t get things to work, restart your computer and try it again. And don’t forget to pray! 🙂 That usually solves things. It is possible that your computer does not have enough RAM or free space to run things well. In this case, you will need to design your book in one of the school computer labs that has Adobe InDesign. Remember with InDesign, you need to EXPORT your file as an .idml to be able to open it up an different versions of InDesign.
- Go here for instructions, videos etc: https://support.blurb.com/hc/en-us/articles/212771823
- Go to http://www.blurb.com/photo-books and scroll down to choose your photobook size and style.
- You can choose the:
- STANDARD PORTRAIT / LANDSCAPE PHOTOBOOK (Not the Small 7x7 book).. OR
- PREMIUM MAGAZINE (Not the Economy Magazine) NOT THE TRADE BOOK (It is for text, not photos).
- NOTE: YOUR COVERS need to include at least one of your images, a book title of your choosing and your name.
- TO CHECK PRICING, Go to http://www.blurb.com/pricing#/ for PHOTOBOOK PRICING: Starts at $22 –
Go to http://www.blurb.com/pricing#/tab/magazines for MAGAZINE PRICING PREMIUM: Starts at $6
DOWNLOAD BOOK TEMPLATES
Only download the following templates if you cannot dowload the blurb book creator!
- Standard Landscape 10X8 – Hardcover/Softcover Image Wrap – Cover ID Template – Pages ID Template
- Standard Portrait 8X10 – Hardcover/Softcover Image Wrap – Cover ID Template – Pages ID Template
- Magazine 8.5X11 – Softcover – Cover ID Template – Pages ID Template
PHOTOBOOK INSTRUCTIONS
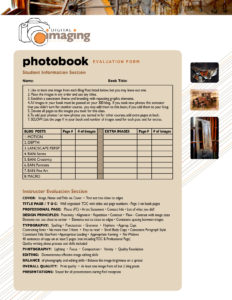
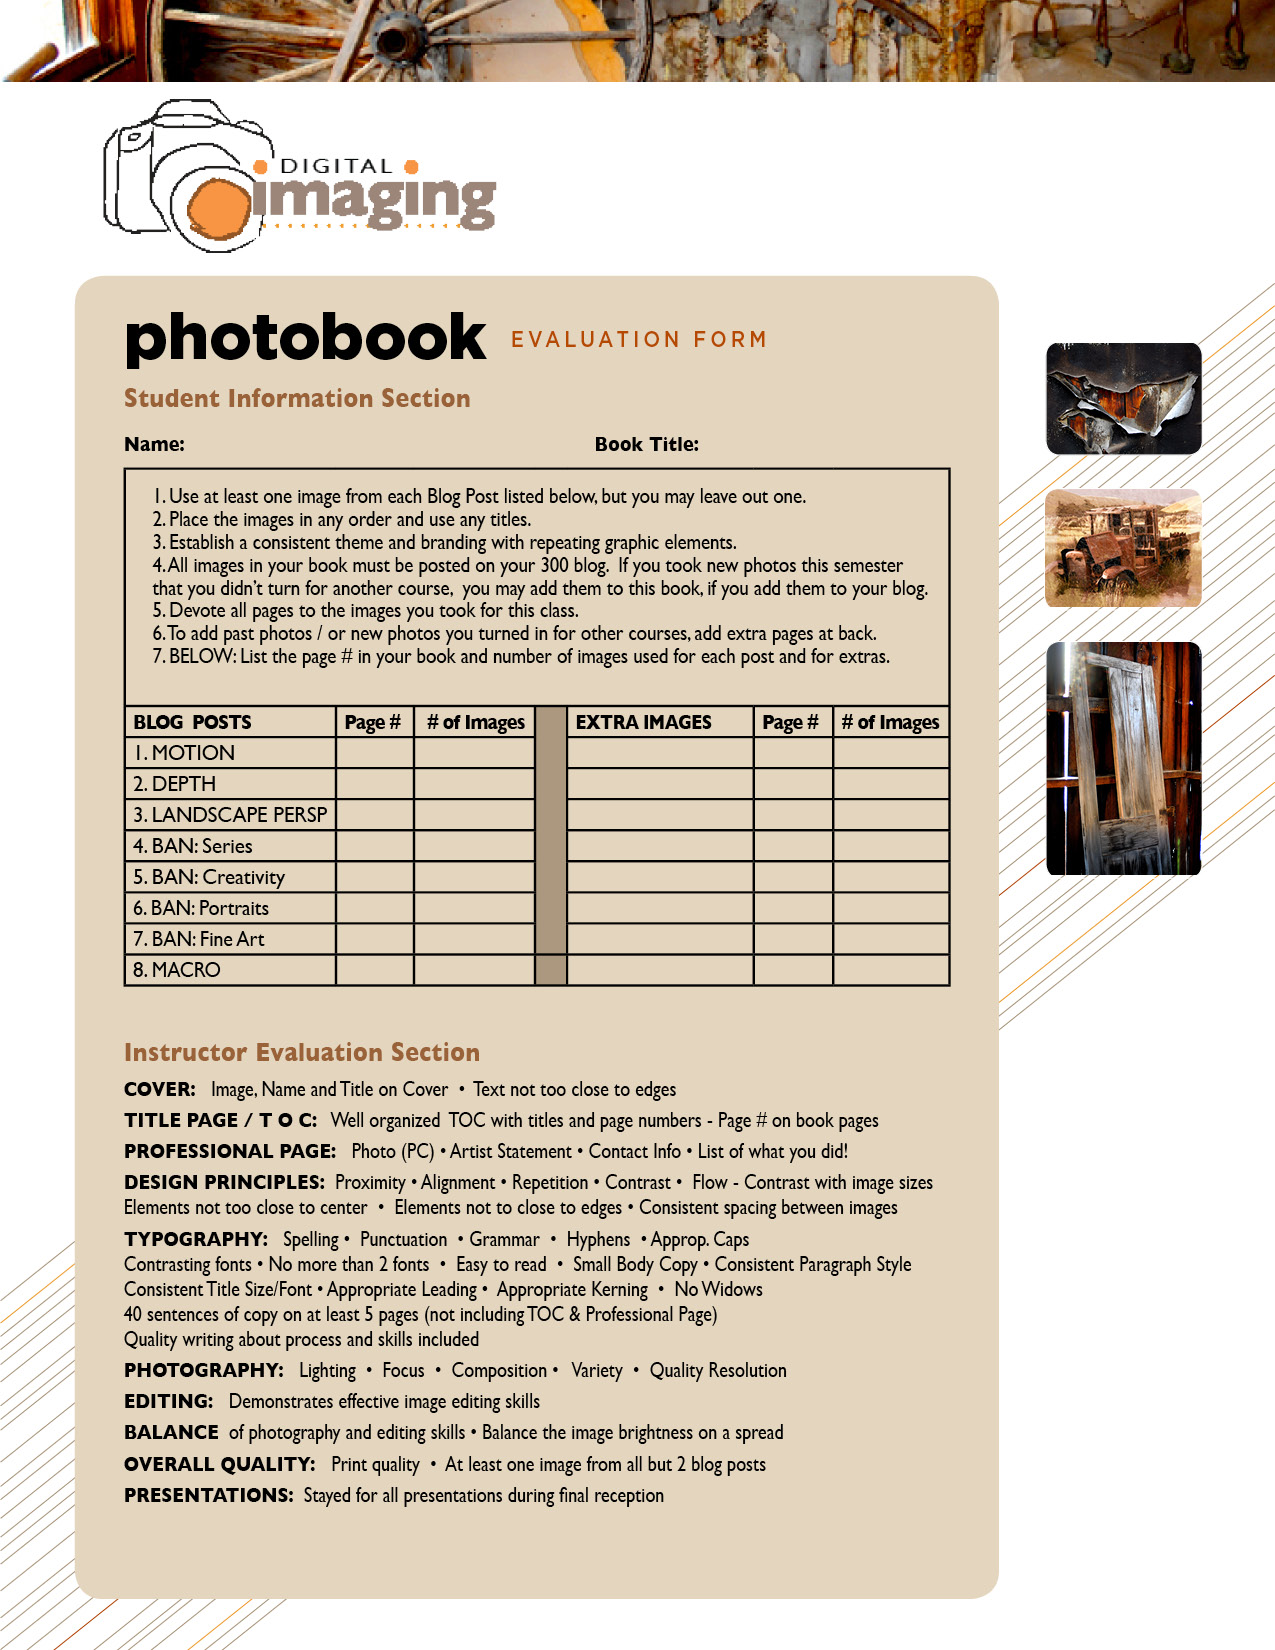
- Follow this Photobook Evaluation Form as a guide. You will fill this out to submit with your Final Photobook.
- 20 PAGES plus front and back Image Covers: You will design front and back image covers, 2 single pages (first page: TOC; last page: PROF. PAGE) and 9 two-page spreads
- THEME: Be consistent with a similar layout style. Follow the Design Principles and Rules of Typography you learned in Comm 130. Include white space, repeating elements and no more than two contrasting typefaces from contrasting categories.
- COVERS: Include one of your images, a book title, and your name. Carry your theme to the back cover.
- TABLE OF CONTENTS: Include the title and pages numbers for page/spread in your book.
- TWO-PAGE SPREADS: Consider each two-page spread as a unit because someone looking at your book will see both pages at the same time.
- BOOK CONTENT GUIDE:
- Include at least one image from each of these 8 Blog Posts, but you may leave out one blog post: Motion, Depth, Landscape Perspective, Bannack Creative, Bannack Series, Bannack Portrait, Bannack Fine Art, Macro.
- Place the images in ANY ORDER and use any titles. Put your best work first because some people do not look through your entire book. You will use the Photobook Evaluation Form to show me where your images are located for grading purposes.
- ALL IMAGES USED IN THIS BOOK MUST BE TAKEN THIS SEMESTER AND APPEAR IN YOUR COMM 300 BLOG. If you took new photos this semester that you didn’t turn for another course, you may add them to this book, if you add them to your blog. Place all new images in one new blog post with a title such as…More Images for Photobook.
- Devote all 20 pages to the images you took FOR THIS CLASS. To add past photos / or new photos you turned in for other courses, add extra pages at back.
- Establish a CONSISTENT THEME and branding with repeating graphic elements, consistent spacing between images, and graphic elements such as lines, shapes, and consistent branding.
- CONSISTENT TITLES: Include a title for each spread with consistent style, placement, and sizing.
- CONSISTENT COPY: Include small body copy (10 or 12 pt) that contrasts with the background for excellent legibility.
- 5+ PAGES WITH 40+ SENTENCES OF WRITTEN PROCESS: Sell Your Skills! Include at least 40 sentences of polished writing on at least five pages (not spreads and not including your TOC and Prof Page). Write about your process, skills, image location, setup, surroundings, and situation.
- WRITING TIP: To avoid losing points on your final printed book, eliminate your writing errors by visiting the Writing Center for help with editing, grammar, spelling and punctuation.
- PROFESSIONAL PAGE: Include the following
- Artist’s statement to describe your style and experience.
- Contact information
- Current photo of yourself
- A list of all the work you completed on your own. Example: All photography, design, layout, and writing by ___(Your Name)
- NOTE: STYLE EXCEPTIONS to these Instructions will be allowed if approved by your instructor.
SUBMISSION
REQUIRED: With each Submission, add the new pages, save as a new pdf with spreads and submit to I-learn Canvas. Be sure to check “Spreads” when you export your pdf so we can view it as it would look when printed as a book… with two page spreads side-by-side. With each new completed assignment, you will Bring the updated pdf to class for group critique. With your FIRST 5 PAGES & FULL BOOK, you will also bring 2+ printed color pages (from different spreads) to class for group critique.
- TUES, JUN 18 – 11:59pm — First 5 Book Pages First Assignment, you will design your first five pages:
1. Table of Contents (first single page), 2-3. First Two-Page Spread, 4-5. Second Two-Page Spread. Bring pdf and 2+ printed color pages to class for critique.
- FRI, JUN 21 – 11:59pm — Submission: Half Book: HALF BOOK, you will add Four more Two-Page Spreads. — Bring new pdf to class.
- TUE, JUN 25 – 11:59pm— Submission: Photobook: Full Book PDF: Third Assignment. FULL BOOK, Add the remaining Three Two-Page Spreads, plus Professional Page (last single page) and front and back COVERS. — Bring new pdf and 2+ printed color pages to class.
- WED, JUN 26 — Instructor Critique Sign-up: Meet with instructor for critique in class, make corrections and final revisions. Take your pdf and .indd file on a laptop and your four color printed pages.
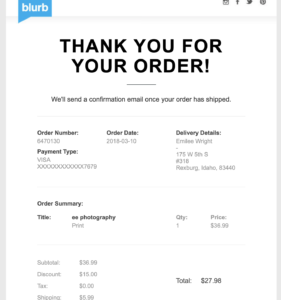
- THU, JUN 27 – 11:59pm — BLURB SUBMISSION: Submit your final photobook to Blurb! You will submit a screenshot of the email confirmation that shows you submitted your book to Blurb for printing. You will receive a “Thank you” email within an hour. You will receive a second “Order Confirmation” email within 5 days. If you do not receive an order confirmation email contact Blurb IMMEDIATELY or you may not receive your book before the final reception!
- TUE, JUL 9 – 11:59pm — FINAL PHOTOBOOK BLOG POST & EVAL FORM
1. Update your FINAL PHOTOBOOK after final critiques so your final pdf matches your print book.
2. Print and complete your Evaluation Form. Then take a phone pic of your eval form and submit the jpeg.
3. CREATE A BLOG POST according to final blog post instructions.

