
Portraiture is an important part of photography – it involves capturing moments, and making people look their best. There is plenty of room for creativity, style, and your personal touch.

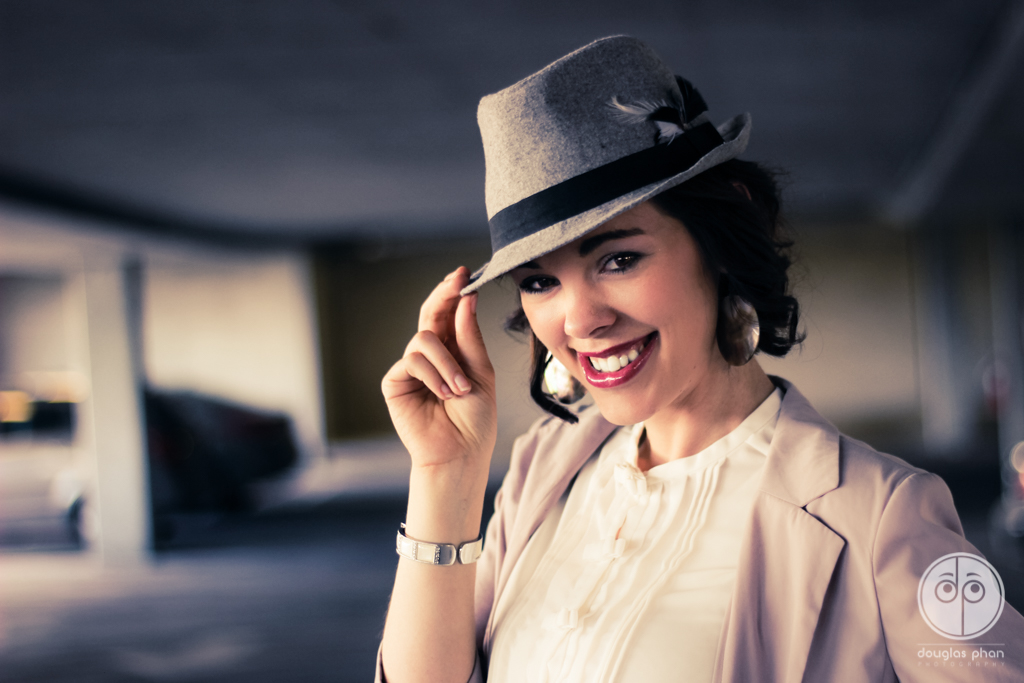
Google it: Examples of portrait photography – Examples of student work in Comm316
Equipment
DLSR Camera; Lighting equipment as needed
Adobe Photoshop or Lightroom for appropriate adjustments (exposure, color, sharpness).
Instructions
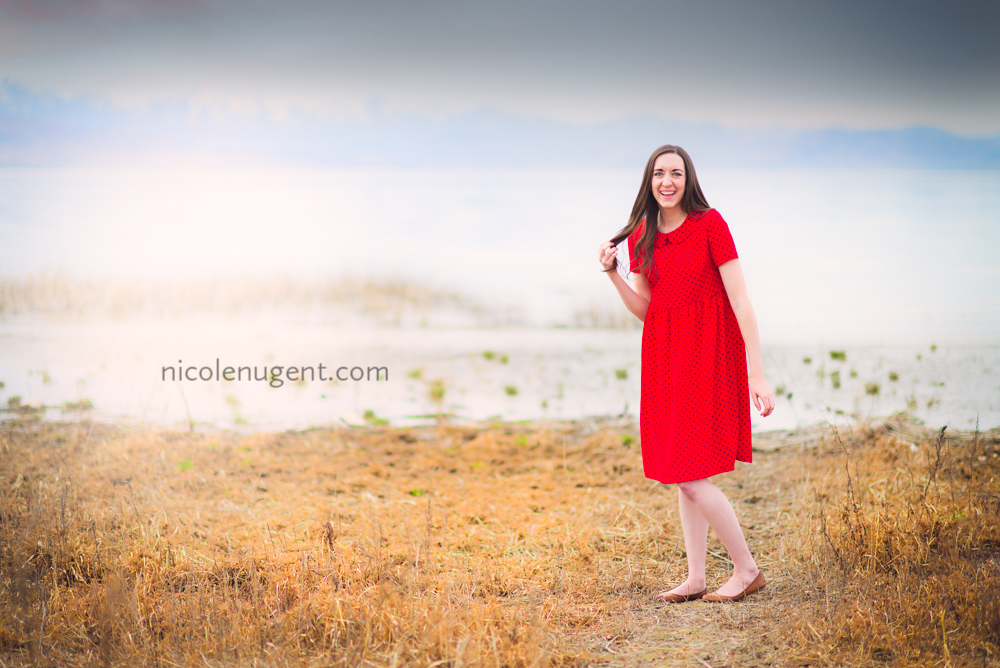
1. Individual – Side Composition: Subject should be on the side of the frame, with a blurry background. Use zoom, a large aperture (small number), and spot metering. Also keep subject at least 20 feet from anything in the background. Follow tips 3-6 below, under ‘Make Fascinating Portraits” and “Tips & Details” under that.
2. Individual – Head or Head & Shoulders: This may be the same person and pose as number 3.
3. Individual – Full Body: This may be the same person and pose as number 2.
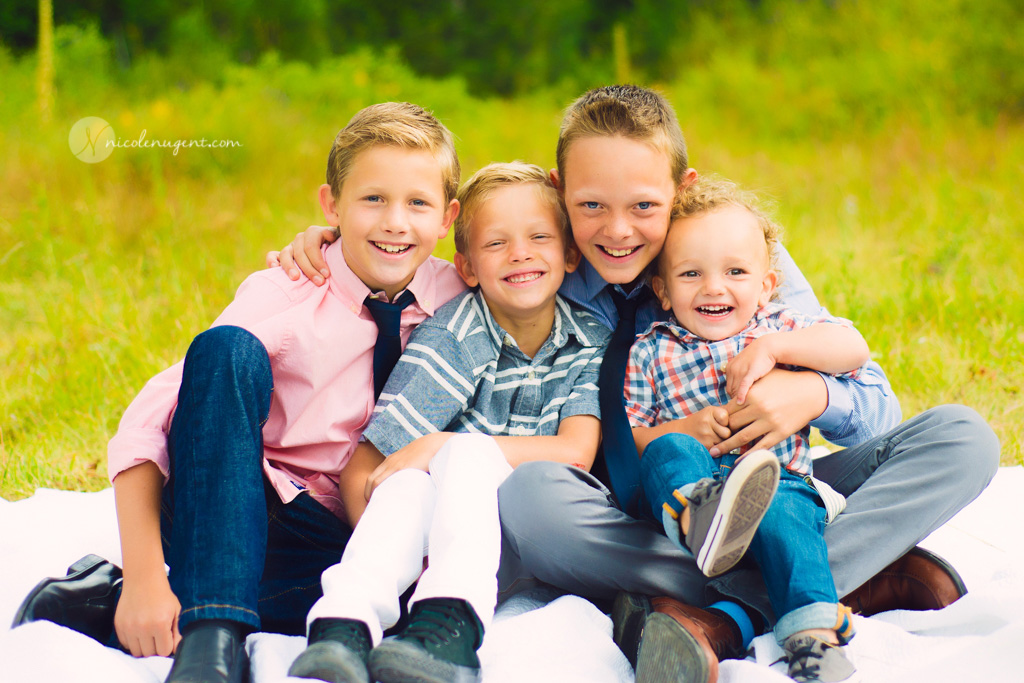
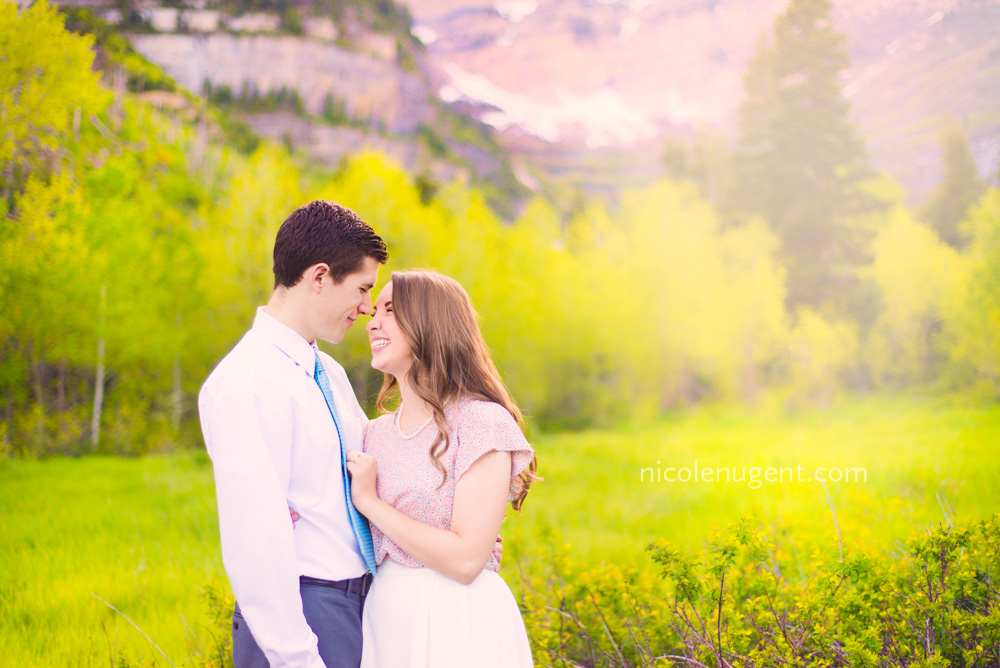
4. Group Activity: Two or more people interacting candidly, and not looking at the camera.
5. Group Posed: Two or more people, posing. May or may not be looking at the camera.
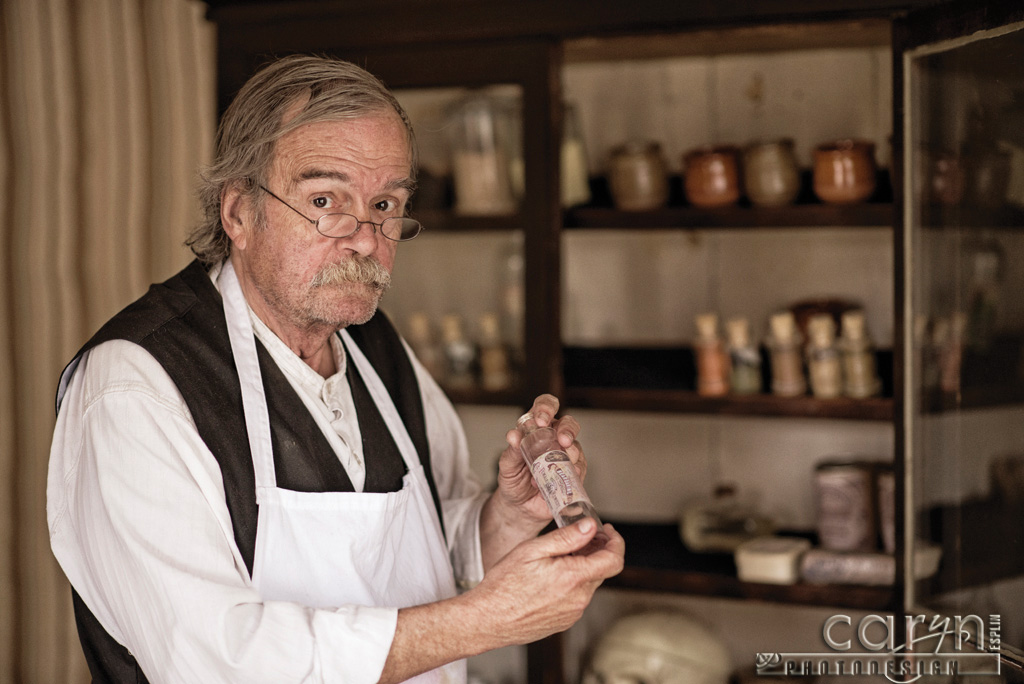
6. Individual or Group Environmental: Individual or group in their natural work environment, doing what they do, without looking at the camera. Example: A construction worker operating a jackhammer, or a hair stylist giving a haircut.
Submission:
-Do not submit until everything is complete. Once you submit, be sure NOT to change anything on your post, until after it is graded. Follow the Submission Instructions
-Submit blog post link to the WEB URL tab on Canvas.
-Before 9am Wednesday, choose your best photo (only one) from this project and add it to the correct Class Facebook album. NOTE: Go to Photos > Albums -- in the left upper column of the FB Group.
Rubric
NOTE: Meeting the minimum requirements is “average” and constitutes an 80% or B- grade, according to the University Grading Guide. To receive a higher grade, students should excel. However, quality and/or difficulty is more important than quantity.
√ SIZING: Photos sized to 1024 pixels on the long side. First part of jpeg filename is student’s name. Example: JakeSpencer-Tetons.jpg. Photos displayed at “Large” size in blog post, per instructions in Week 1 > Photo Blog Instructions. Photos are clickable.
√ PROCESS: Detailed paragraph (3-5 sentences) about the process.
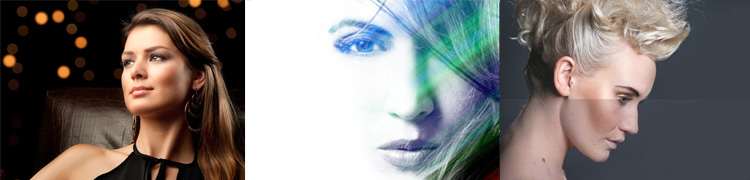
√ INSTRUCTIONS: 6+ new and different images for the following portrait requirements: 1. Individual – Side Composition; 2. Individual – Head or Head & Shoulders; 3. Individual – Full Body; 4. Group Activity; 5. Group Posed; 6. Individual or Group Environmental. Three (3) additional new portraits: 1. Portrait Enhancements; 2. Match Color (3 images shown: Edited, Original, Sourcematch) 3. Replace Color (Before and After photos included).
√ PHOTO QUALITY: Light – Focus – Composition – Creativity.
√ APPROPRIATE EDITS for professional display.
√ SUBMISSION: Link submitted was a true hyperlink and linked directly to the completed blog post. Best photo to FB before 9am on Wednesday.
CAUTION: YOUR ASSIGNMENT IS NOT COMPLETE UNTIL YOU SUBMIT A LINK TO IT HERE. However, you are allowed a one-time extension, if you choose to use your mulligan. Please read about it in the syllabus. We check your blog post for completion right at the deadline, so please do not add things later. Everything needs to be complete when you post the link.
Advanced Options, Tips & Tutorials
Google the following topics to find inspirational examples, tutorials and videos.
Attend Visual Society meetings to learn more advanced options and get inspired!
Tips for Getting Great Portraits
TIP 1: SELECTIVE LIGHT: Highlight: Find natural side light. Try a secondary reflector, -1.7 fill flash, other lights, or Camera Raw Adjustment Brush.
TIP 2: COMPLIMENTARY BACKGROUND: Simplify: Place subjects 20+ ft. from backgrounds, or use an interesting wall. Blur: Use large aperture (smallest # 1.8 – 5.6) to blur the background and accentuate the subject.
TIP 3: CONTROLLED FOCUS: Focus: Use spot metering to control sharp focus point on the eyes/face. Zoom: Use a focal length of 50-105mm for realistic facial proportions.
TIP 4: CREATIVE COMPOSITION: Compose: Follow the rule of thirds to avoid centering. Look for leading lines. Try unique angles. Allow lead room for good flow. Frame: Frame the subject different ways: head, shoulders, waist, full, environment, details.
Advanced Tutorials
PORTRAIT RETOUCHING: Scott Kelby Method
Scott Kelby is the one of the foremost editing specialists and the creator of Photoshop World. This is a nice basic retouching tutorial.
EDIT CHALLENGE! Luminosity Trick for Portraits: Corey Barker
Check out this video tutorial by Corey Barker (Photoshop’s new golden boy) and try it out on one of your own portraits. It works best with an image that has nice contrast between shadows and highlights.
REDUCING WRINKLES: Lindsey Adler
Follow this great tutorial from New York City Fashion Photography Lindsey Adler to reduce wrinkles in Photoshop.
FREQUENCY SEPARATION: Skin Retouching
Follow this quick tutorial on skin retouching in 2 minutes using technique Frequency Separation.