
Part 1 Instructions
Content Aware Fill
This is a totally amazing method for removing unwanted objects, people, or random junk from your images. Move over Clone Stamp, Content Aware Fill is quicker and better (most of the time ;)).
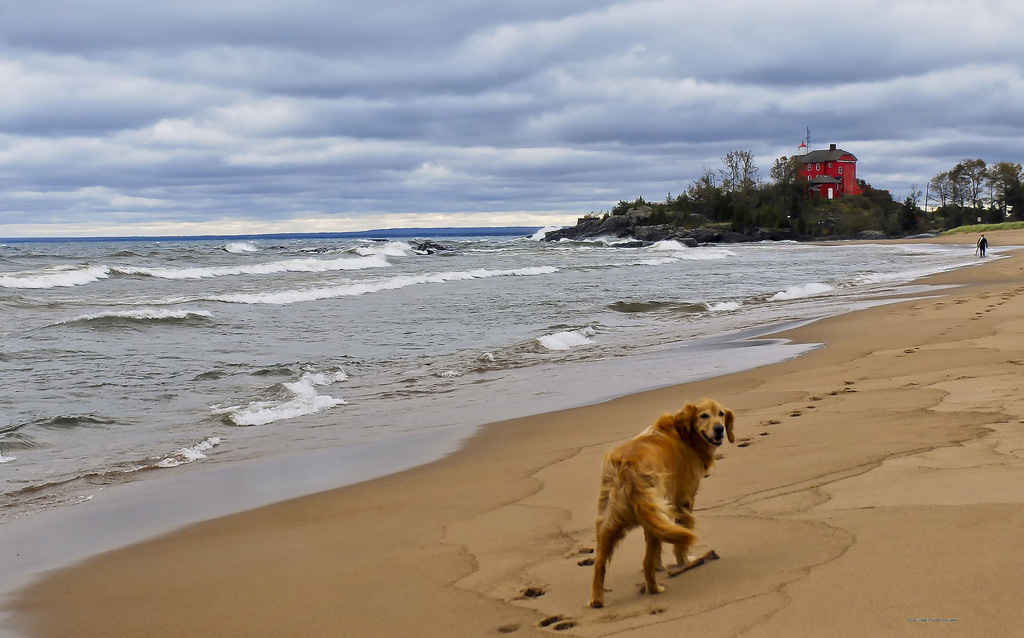
1. OPEN IMAGE: To download the Beach image below. Click it first to make it larger. THEN, right click it and choose “Save Image As.” Be sure you are in Firefox, or you won’t get that option. NOTE: Always use Firefox in this class, so everything will work correctly with I-Learn, etc. Then open the larger image in Photoshop.
2. SELECT DOG: Use the Lasso Tool (L) to make a quick, loose selection around the dog, but make sure you get a little of the background in your selection. (Don’t use the Quick Select tool, or you will get a line.)
3. CONTENT AWARE FILL: Hit Shift+F5 (or Shift Delete or Edit > Fill > Content Aware), then OK to use Content Aware Fill to replace the dog with surrounding sand. HINT: On a Mac laptop, sometimes you need to hit the large delete button instead of Shift+F5.
4. CLEANUP: Use the Spot Healing Brush and Clone Stamp (or Patch tool) to remove all footprints in the sand… get rid of the “Background Man.” 🙂
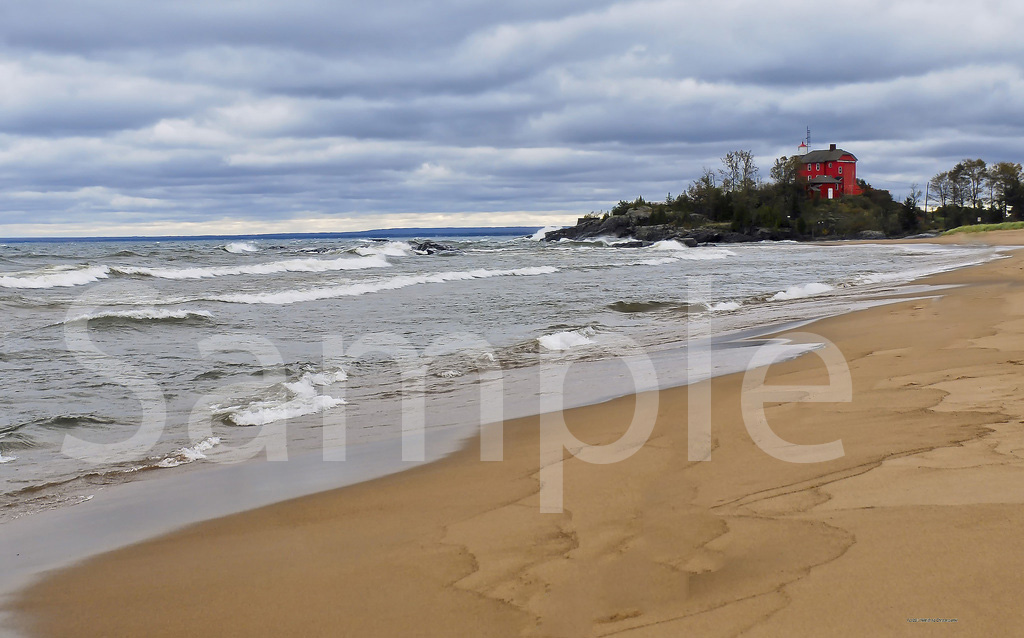
5. SAVE JPEG & NAME: Save this as a high quality jpeg with your name: A3-AJakeSpencer.jpg. Move on to part 2 of this activity.
To download this image: Use Firefox – Rick Click the image and choose “Save image as”
Part 2 Instructions
Content Aware Scaling
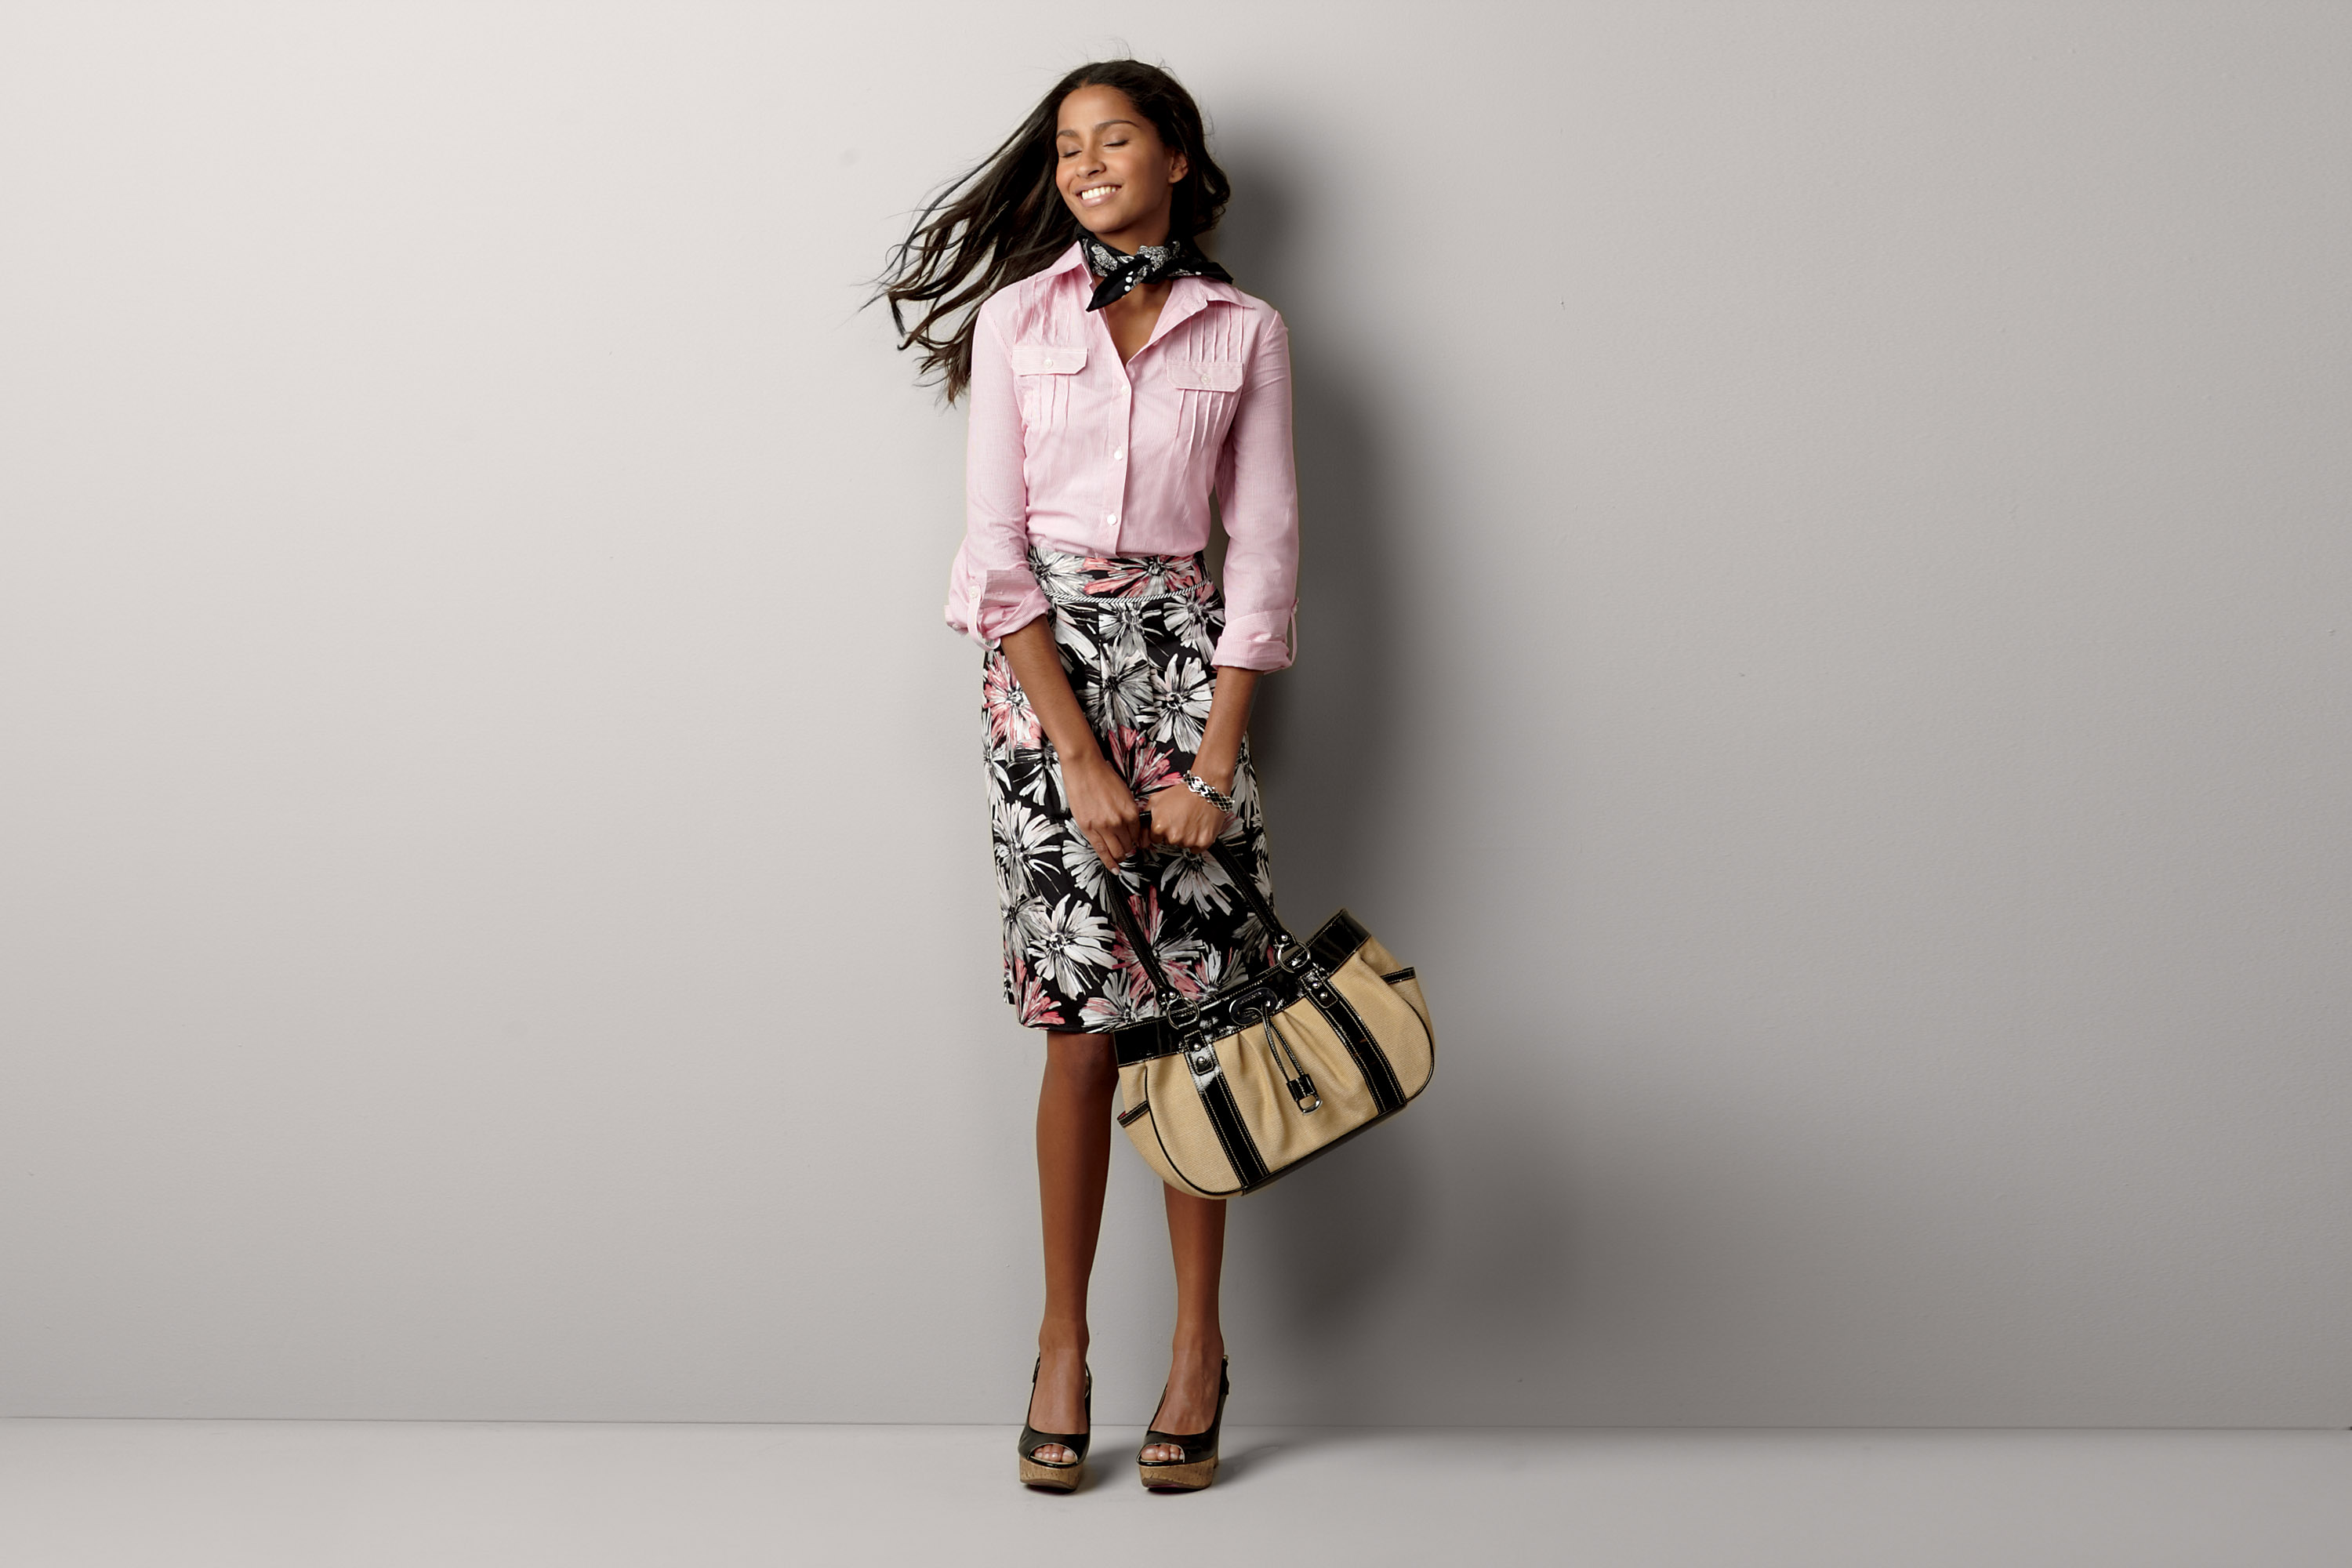
Situation: You are designing a billboard for JCPenney. They have supplied an image of a Liz Caliborne model, but you need to extend the gradient background to make room for text, without stretching the model. Cloning will not work well, so you will use Content Aware Scaling. Your goal is to have the model on the right side of the image, with a large space on the left side for text. The final image should be 4000 pixels x 2000 pixels.
1. OPEN IMAGE: Download the attached image (JCPenneyLzCModel.jpg) located at the bottom of this window. Then open it in Photoshop.
2. CROP IMAGE: Select the crop tool and change the size settings at the top to: 2000 px wide x 2000 px high. Then, move the crop area to the left so that it crops off part of the right image. The right side of the crop should stop just to the right of the model’s purse. Press enter to apply the crop.
3. COPY LAYER: Hit Cmd+J to copy the layer.
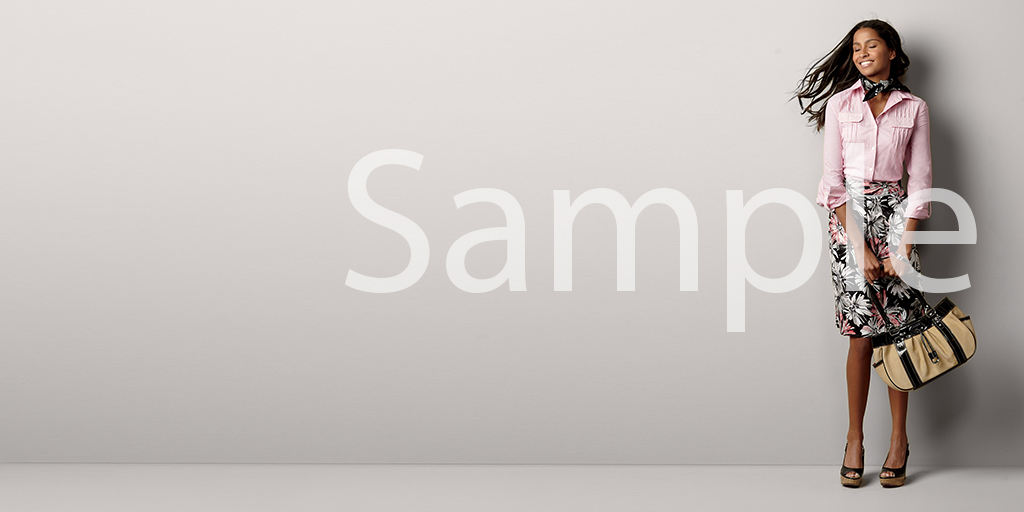
4. ADD CANVAS SIZE: Go to Image > Canvas Size and change width to 4000 pixels, but click the Right Arrow under Anchor, so the extra pixels will be added to the Left side of the image. Any color will do. You should now have the model on the very right of the image, with lots of space on the left.
4. ADD CANVAS SIZE: Go to Image > Canvas Size and change width to 4000 pixels, but click the Right Arrow under Anchor, so the extra pixels will be added to the Left side of the image. Any color will do. You should now have the model on the very right of the image, with lots of space on the left.
5. MAKE YOUR SELECTION: Select the top layer, then use the Quick Selection Tool (W) to make a quick, loose selection of the model and her purse. Go to Select > Save Selection, then name it.
6. SELECT THE IMAGE: On the top layer, Cmd-Click the thumbnail of the image in the Layer’s Palette to select just the original photo and not the extra canvas size.
7. CONTENT AWARE SCALING: Go to Edit > Conent Aware Scaling. This will add handles to the image. Click and drag the center-left handle to the left until the image fills the 4000 pixel width.
8. SAVE AS A JPEG: Flatten the layers and save this as a high quality jpeg.
9. NAME & UPLOAD: Name it with your name: A3-BJakeSpencer.jpg. Upload both images in I-Learn before the deadline.
To download this image be sure that you enlarge the photo before right clicking the image to save image as.
3. SUBMISSION: Please remember this is a 2-part Case Study. Be sure you submit both parts.