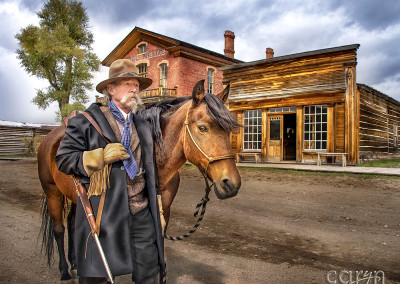
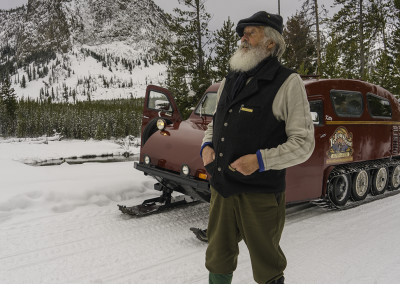
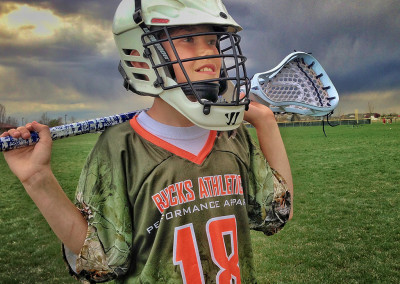
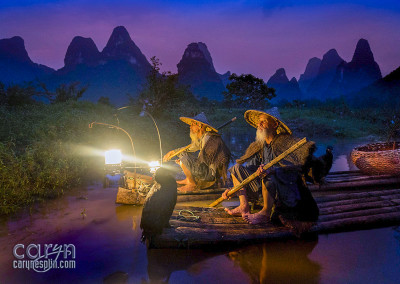
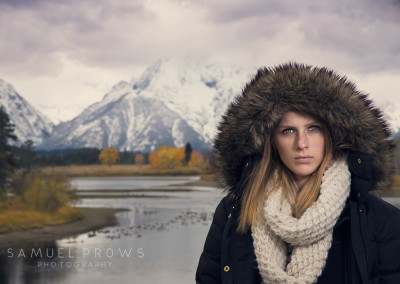
We are all influenced by the people around us and our surroundings. For the cultural enlightenment assignment you will gain a greater understanding for people, their culture and the landscape. This assignment is meant to build your confidence in sharing your photography, teach you how to work with different cultures and to plan for a photoshoot.
“It is more important to click with people than to click the shutter.” Alfred Eisenstaedt
Equipment
• Reflector is optional, but you must still use a flash
Overview
• One edited image
• One image of photographic setup
Instructions
1. Use YN560 in Slave mode, no Trigger needed (unless your camera does not have a trigger):
• Reserve the YN560-I or YN560-II
• Change mode to S1.
• Adjust the power and zoom on the flash as needed.
• Popup the fill flash on your camera which will trigger the off camera speedlight when it is in S1 mode (slave).
2. PROCESS:
1. ENVIRONMENTAL PORTRAIT photograph an environmental portrait showing your subject’s culture. Your subject/or subjects should be a total stranger and should be posing or standing by something that shows their culture. This photo must include the landscape (must be outside) using a speedlight in slave mode.
2. INTERVIEW SUBJECT: Take time to interview your subject for at least 10 -30 minutes to learn their story. Be sure your image tells a story about your subject.
3. TRIANGLE SETUP: The flash should be placed in a way that there is a triangle created from where you, your speedlight and your subject are. This may be a cellphone picture and is the only photo that does not need to be sized at 1024 px, but it should still be a small file size. Post this image in your blog as a thumbnail. Do not photograph anyone without permission. You may want to show some of your best images to a potential subject to gain their trust in you as a photographer.
4. PORTRAIT & LANDSCAPE: THIS PROJECT IS A COMBINATION OF PORTRAIT AND LANDSCAPE PHOTOGRAPHY. You must photograph your subject OUTSIDE to show the landscape of their unique environment.
5. Be sure your image includes the following:
• PEOPLE (One or more strangers in their own unique story-telling setting)
• CULTURE (Something that shows their culture, lifestyle and history)
• LANDSCAPE (The background should be a landscape. It can also include a related building, but it needs to show some landscape too. All exceptions to these instructions must be pre-approved by the instructor or TA)
PROFESSIONALISM: Remember that you represent BYU-Idaho and your personal brand, show respect for your subject, their culture and their time. If you plan to photograph private property or if you have a building in your shot, you must seek permission from the owner before shooting.
3. EDITED CULTURAL ENLIGHTENMENT: Tasteful editing can take your image from an amateur image to a professional image. Spend time researching different editing techniques online and ask for critique from friends and classmates. You may edit using a chiaroscuro techniques by dodging and burning non-destructively in Photoshop using the techniques taught in the Photoshop assignment.
Submit a large view image saved at 1024px on the long side of your final edited cultural enlightenment image.
4. SUBMISSION:
• Upload the unedited image as a thumbnail to your blog saved at 1024px on the long side
• Upload the edited professional quality portrait showing your subjects culture and the landscape as a large image saved at 1024px on the long side.
• Upload a third image, this can be a phone image, showing your triangle light photographic setup for your photoshoot.
• Write at least one sentences describing your editing and shooting process in your blog. Write 3-5 sentences describing what you learned about the culture of your subject.
5. SOCIAL MEDIA SHARING: Instagram
Post your final edited image on Instagram. – Use the #comm300 hashtag and tag @visualcomm.photos on the image not in the caption. – Search the #comm300 hashtag and view 6+ classmates’ Environmental image posts. – Leave comments on at least three classmates Insta – Perspective image posts. In the comments section in ilearn list the 6+ classmates’ images you viewed and the three classmates you left comments on.
Rubric
NOTE: Meeting the minimum requirements is “average” and constitutes an 80% or B- grade, according to the University Grading Guide. To receive a higher grade, students should excel. However, quality and/or difficulty is more important than quantity. Follow the Submission Process.
√ SIZING: Photos sized to 1024 pixels on the long side. First part of jpeg filename is student’s name. Example: JakeSpencer-Tetons.jpg. Final image displayed at “Large” size in blog post, per instructions in Week 1 > Photo Blog Instructions. Photos are clickable.
√ PROCESS: Write at least one sentences describing your editing and shooting process. Write 3-5 sentences describing what you learned about the culture of your subject and include how long you interviewed them for.
√ INSTRUCTIONS: 1 photographic setup image, 1 unedited image and 1 edited image
√ PHOTO QUALITY: Light – Focus – Composition – Creativity – Sharp Subject
√ APPROPRIATE EDITS for professional display
√ SUBMISSION: Link submitted was a true hyperlink and linked directly to the completed blog post.
CAUTION: YOUR ASSIGNMENT IS NOT COMPLETE UNTIL YOU SUBMIT A LINK TO IT HERE. However, you are allowed a one-time extension, if you choose to use your mulligan. Please read about it in the syllabus. We check your blog post for completion right at the deadline, so please do not add things later. Everything needs to be complete when you post the link.

